

Are you tired of cakes that have uneven surfaces, rough edges, and poorly-decorated toppings? Want to learn how to create the perfect cake that will impress everyone? Then you have come to the right place!
I have learned through experience that the appearance of a cake is determined by its structure. So, I created a simple and effective process for creating the perfect cake.
So let’s get started!
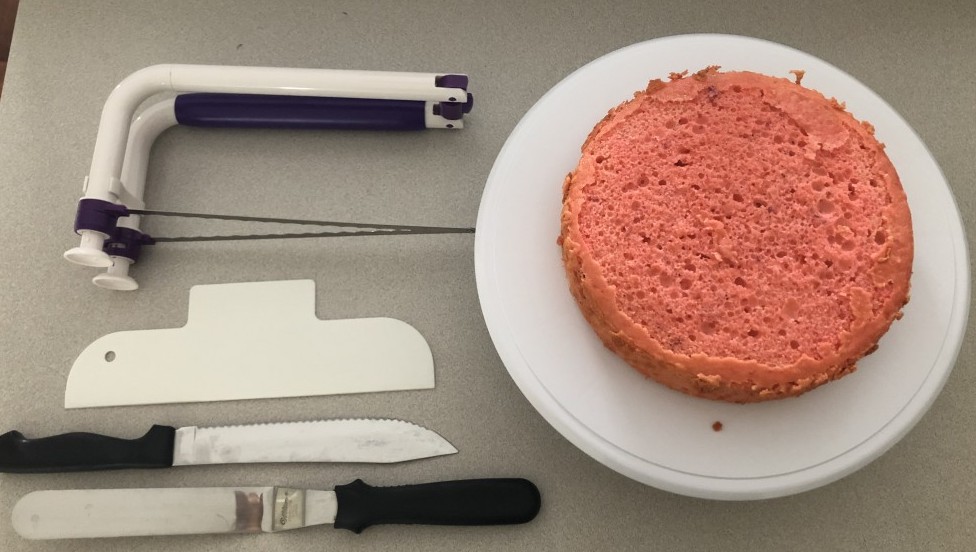
Here are the tools you will need:
- Cake board
- Serrated knife or cake leveler
- Buttercream
- Fillings
- Turntable
- Non-slip mat
- Cake scraper
- Offset spatula
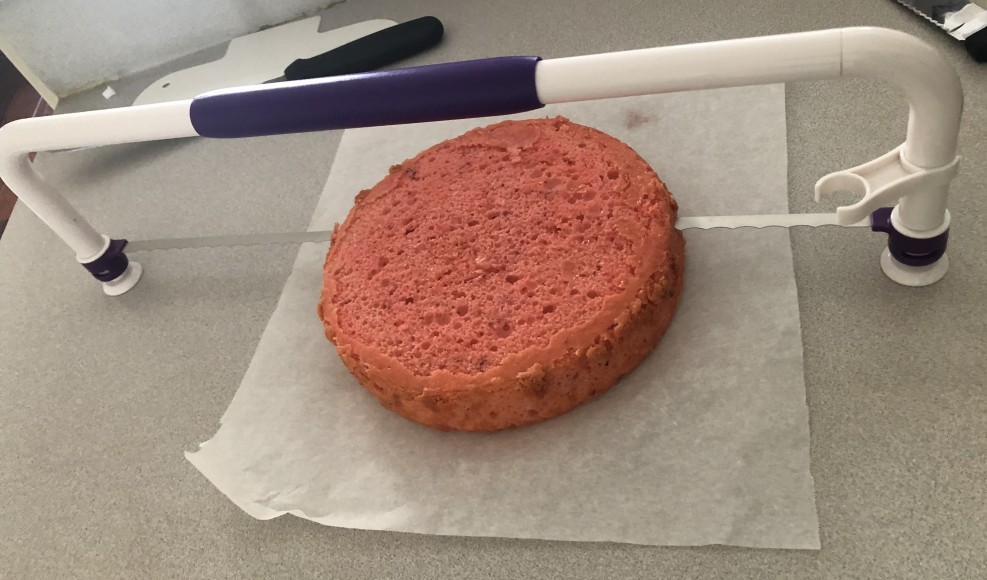
Step 1: Leveling the cake
The first step to achieving the perfect cake is to make sure each cake layer is flat and even. This is crucial as it will provide a solid structure for the cake to be stacked on.
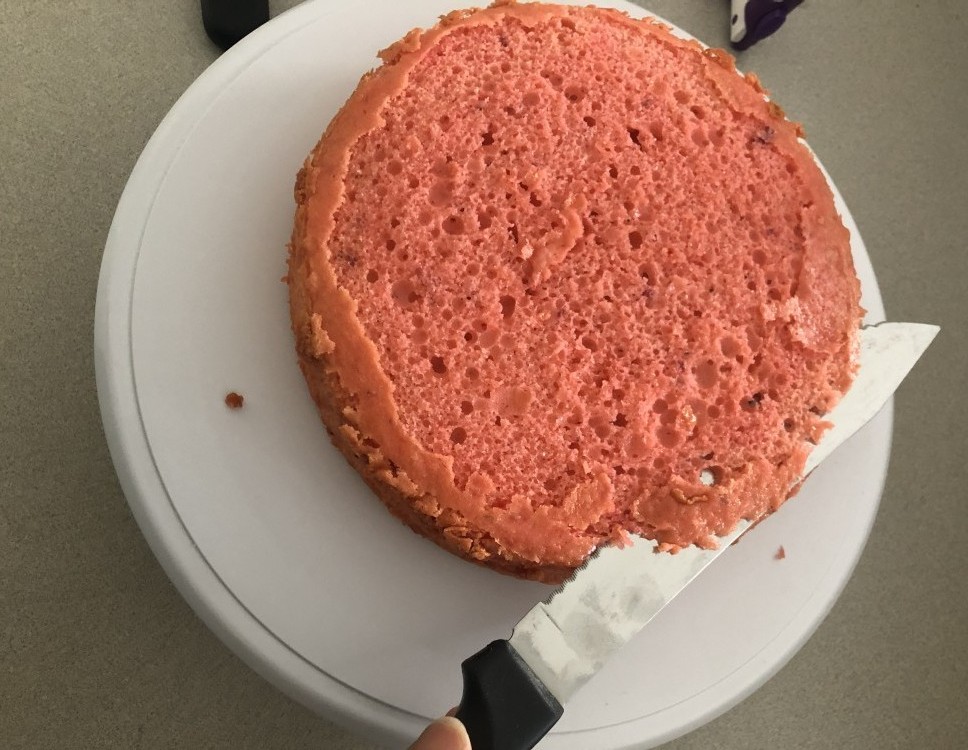
Using a serrated knife or cake leveler, start by cutting the edges of the cake and gradually work your way towards the center while rotating the turntable. Once each layer is leveled, you can either discard the excess cake or use it to make cake pops.
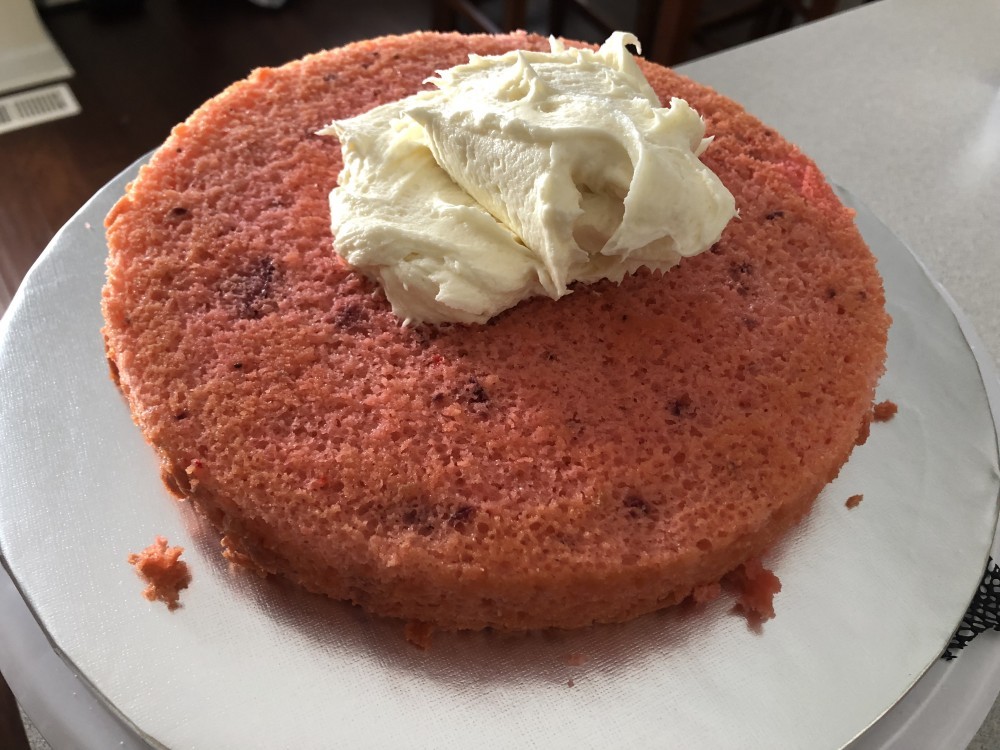
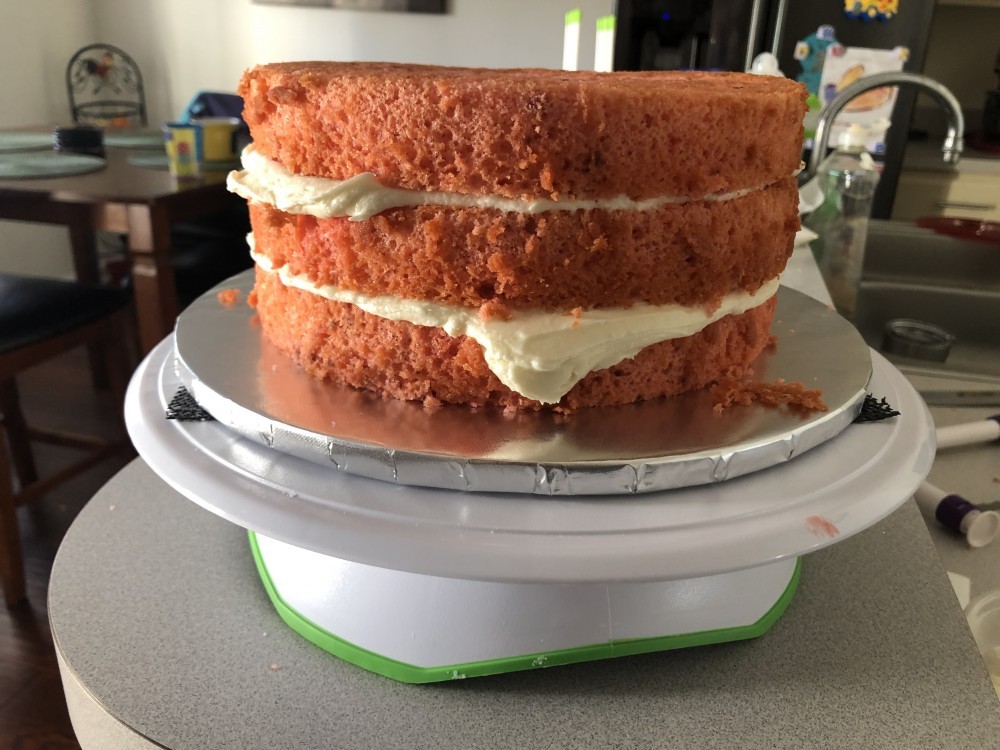
Step 2: Filling The Cake
Next, it’s time to fill the cake with frosting or other fillings of your choice, such as nuts, ganache, or curds. To start, you can add simple syrup to the layers of cake to add moisture. Then, add the fillings directly in the center of each layer and pipe two rims of frosting around the edges to prevent spillage. If some of the filling does spill out, don’t worry – I will cover this in a later step.
Step 3: Stacking The Cake
Stacking a cake is like building a sandwich. Start by putting a small amount of frosting on the cake board and place one layer of cake on top. Add simple syrup and frosting to this layer, then repeat the process with the remaining layers.
Step 4: Crumb Coating The Cake
Crumb coating the cake is important for keeping the moisture in and preventing the cake from crumbling. Add buttercream to the edges and top of the cake, then smooth it out with a cake scraper.
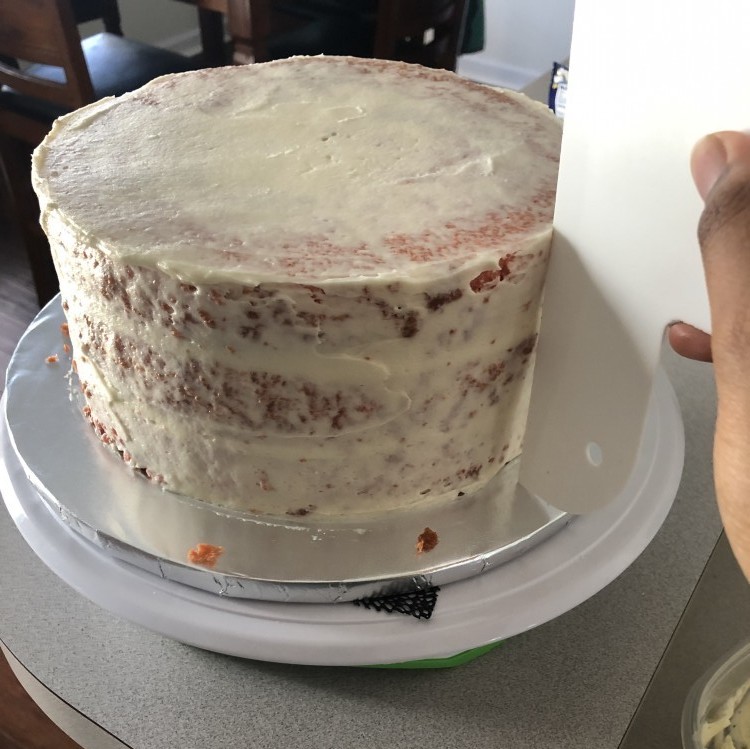
Place the cake in the refrigerator for 30 minutes to allow the buttercream to crust over. If any fillings spilled out of the sides, you can cover them with a piping bag or fondant. After the crumb coating is firm, you can add the final layer of buttercream to the cake.
With these steps, you will be able to create the perfect cake every time. Watch the video at the link below for a visual demonstration:
You did! We Just Crumb Coated a Cake!
Now that you have mastered the art of crumb coating a cake, it’s time to get creative with your baking skills. From adding a final layer of buttercream to decorating with various sprinkles, toppers, or fondant, the possibilities for creating delicious-looking cakes are endless.
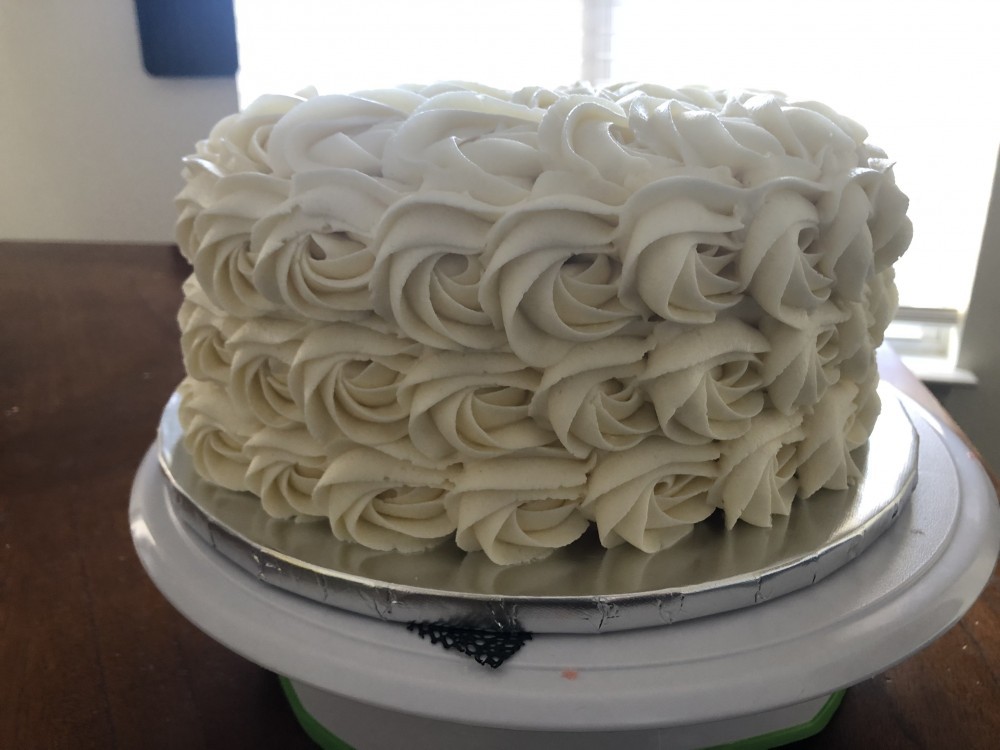
You can also experiment with different piping techniques, such as creating rosettes, flowers, ruffles, and more, using various piping tips. Remember, the key to success is practice. So, keep perfecting your skills and with enough practice, you’ll soon be able to crumb coat, fill, and stack cakes effortlessly.