Rosette cakes are simply beautiful and can be used for many different special occasions like birthdays, gender reveals, and Mother’s Day. The best part is, making one is quite easy. It’s not baby-level easy, but it’s not too hard either. In this tutorial, you’ll learn how to make a lovely rosette cake and fix any small gaps that might pop up while you’re decorating it.
Let’s get to it!
Tools needed:
- 3 layers of cake
- 2 large bowls of Buttercream or Frosting (the rosettes use a lot of frosting/buttercream)
- Cake leveler or carving knife
- Cake scraper
- Cake Turn Table
- Large Piping bag
- 1M Piping Tip
Preparing Cake Layers:
Like with any cake, the first step is to make sure each layer sits nicely on the buttercream. This keeps the cake stable and avoids problems. Some might say it’s okay to stack a cake with a curved top, but I think that’s just asking for trouble.
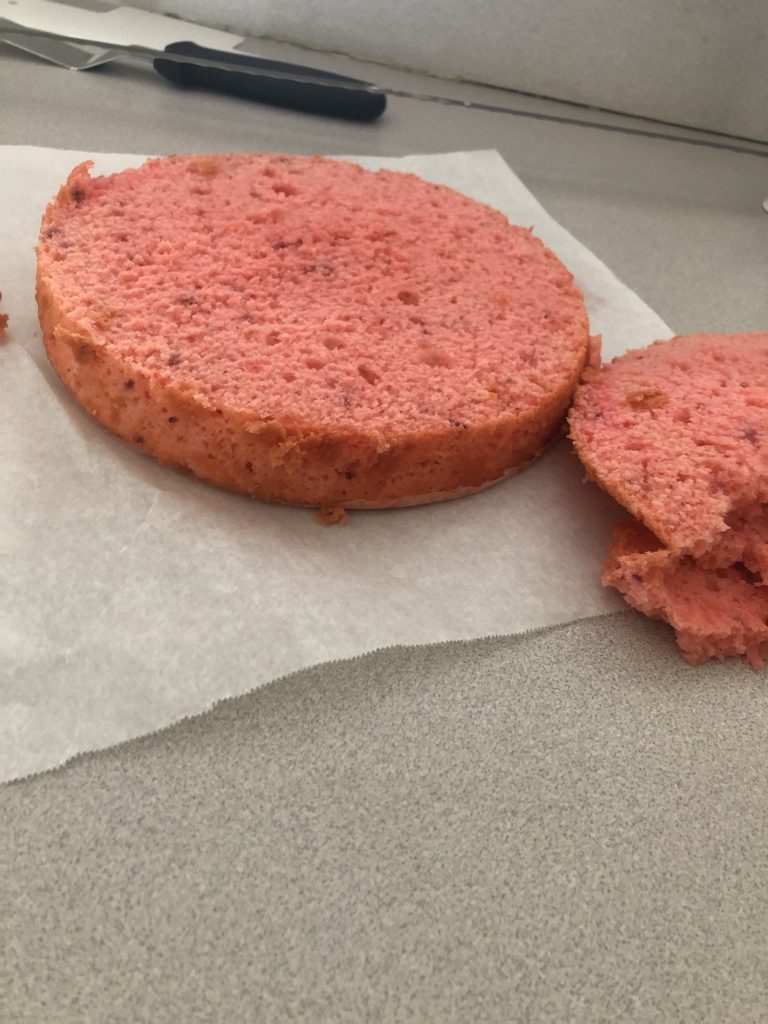
Think of it like building a house – every house needs a strong foundation to stand. Similarly, a cake needs to be level to stay steady and not tip over. After leveling each cake layer, add buttercream or your favorite filling flavor.
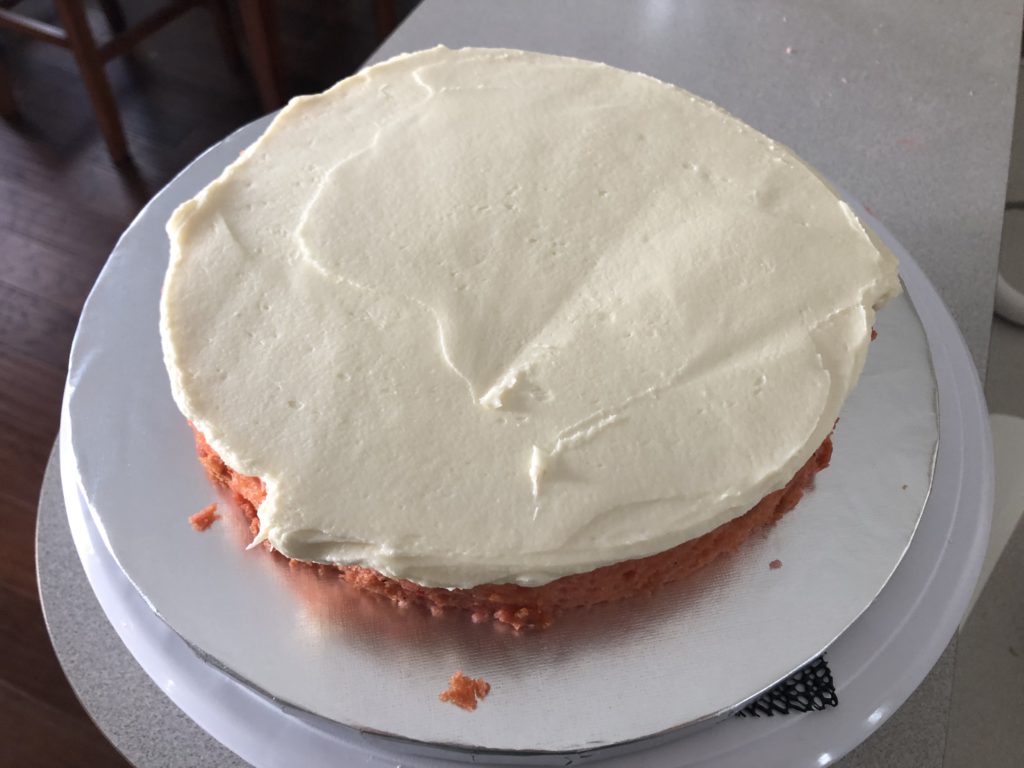
If you’re using a different flavor filling, it’s a good idea to pipe a border of buttercream around the edge of the cake layer to keep the filling inside. This is especially important for fruit fillings like strawberry, blueberry, raspberry, and so on.
Crumb Coating Cake:
Applying a crumb coat is a crucial step in cake decorating. It’s like using glue to make sure the next layer of buttercream or the outer fondant layer sticks well to the cake. This ensures that each rosette stays firmly in place on the cake without falling off.
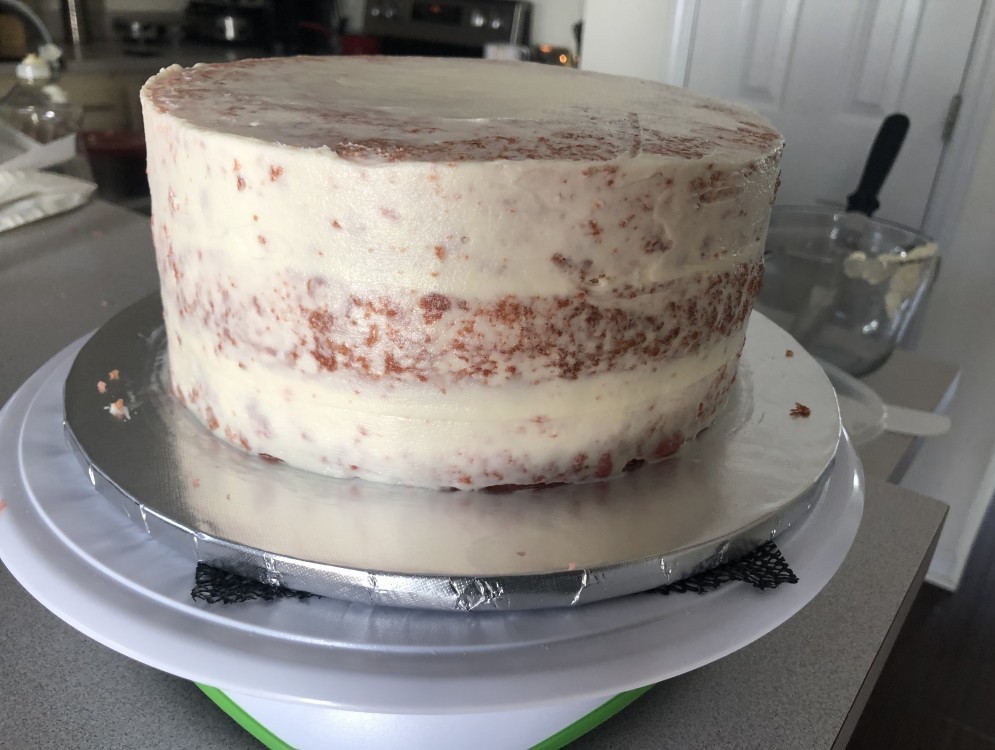
Piping the Rosettes:
For every cake layer, create a row of rosettes around the cake. If your cake has three layers, that means you’ll have three rows of rosettes. If you can’t easily see the layers, you can use a Ruler Leveler to make two lines around the cake. This will guide you in piping out the three rows of rosettes evenly.
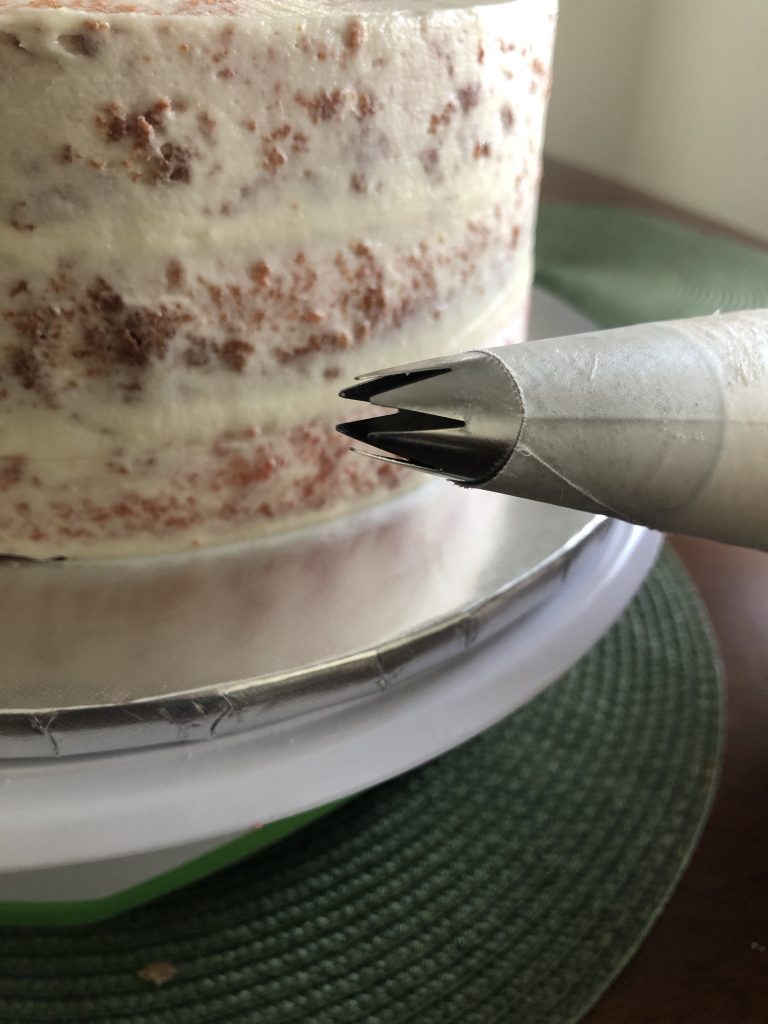
Take a piping tip with the number 1M and press it against the cake to let some buttercream come out. Then, lift it up and pipe in a circle, as if you’re drawing a circle.
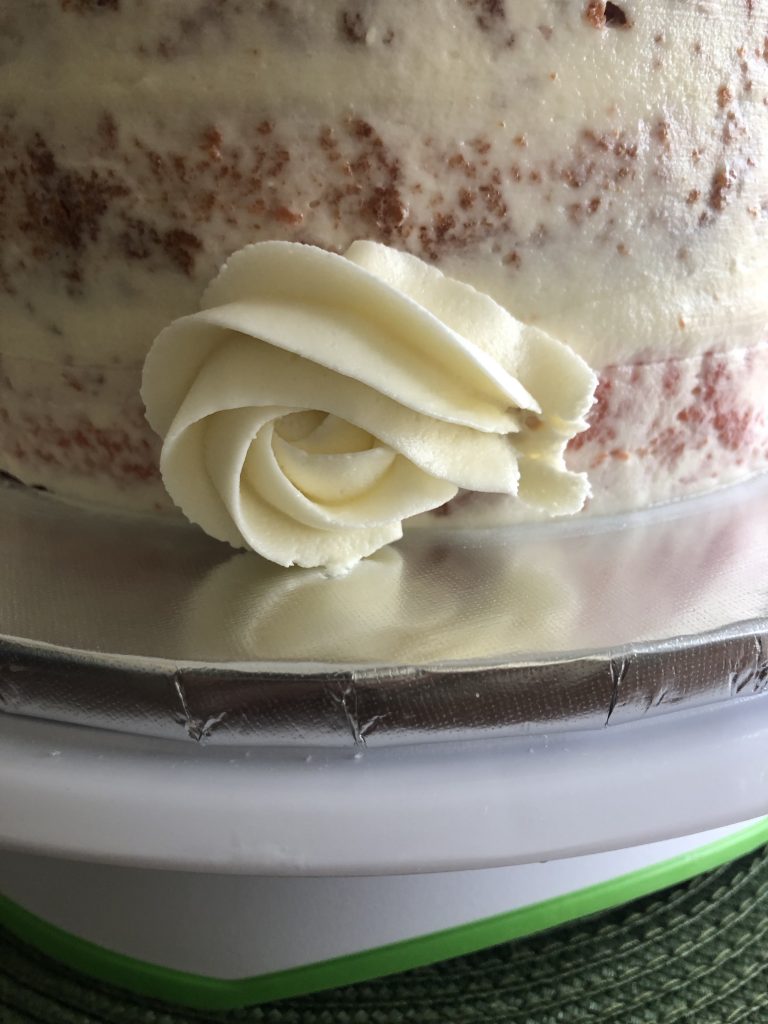
The key to filling the gaps between the rosettes is to keep them close together. When you start piping the second layer of rosettes on top of the first, avoid putting one rosette directly on top of another. Instead, place the rosette in between the gap, where it forms a ‘V’ shape.
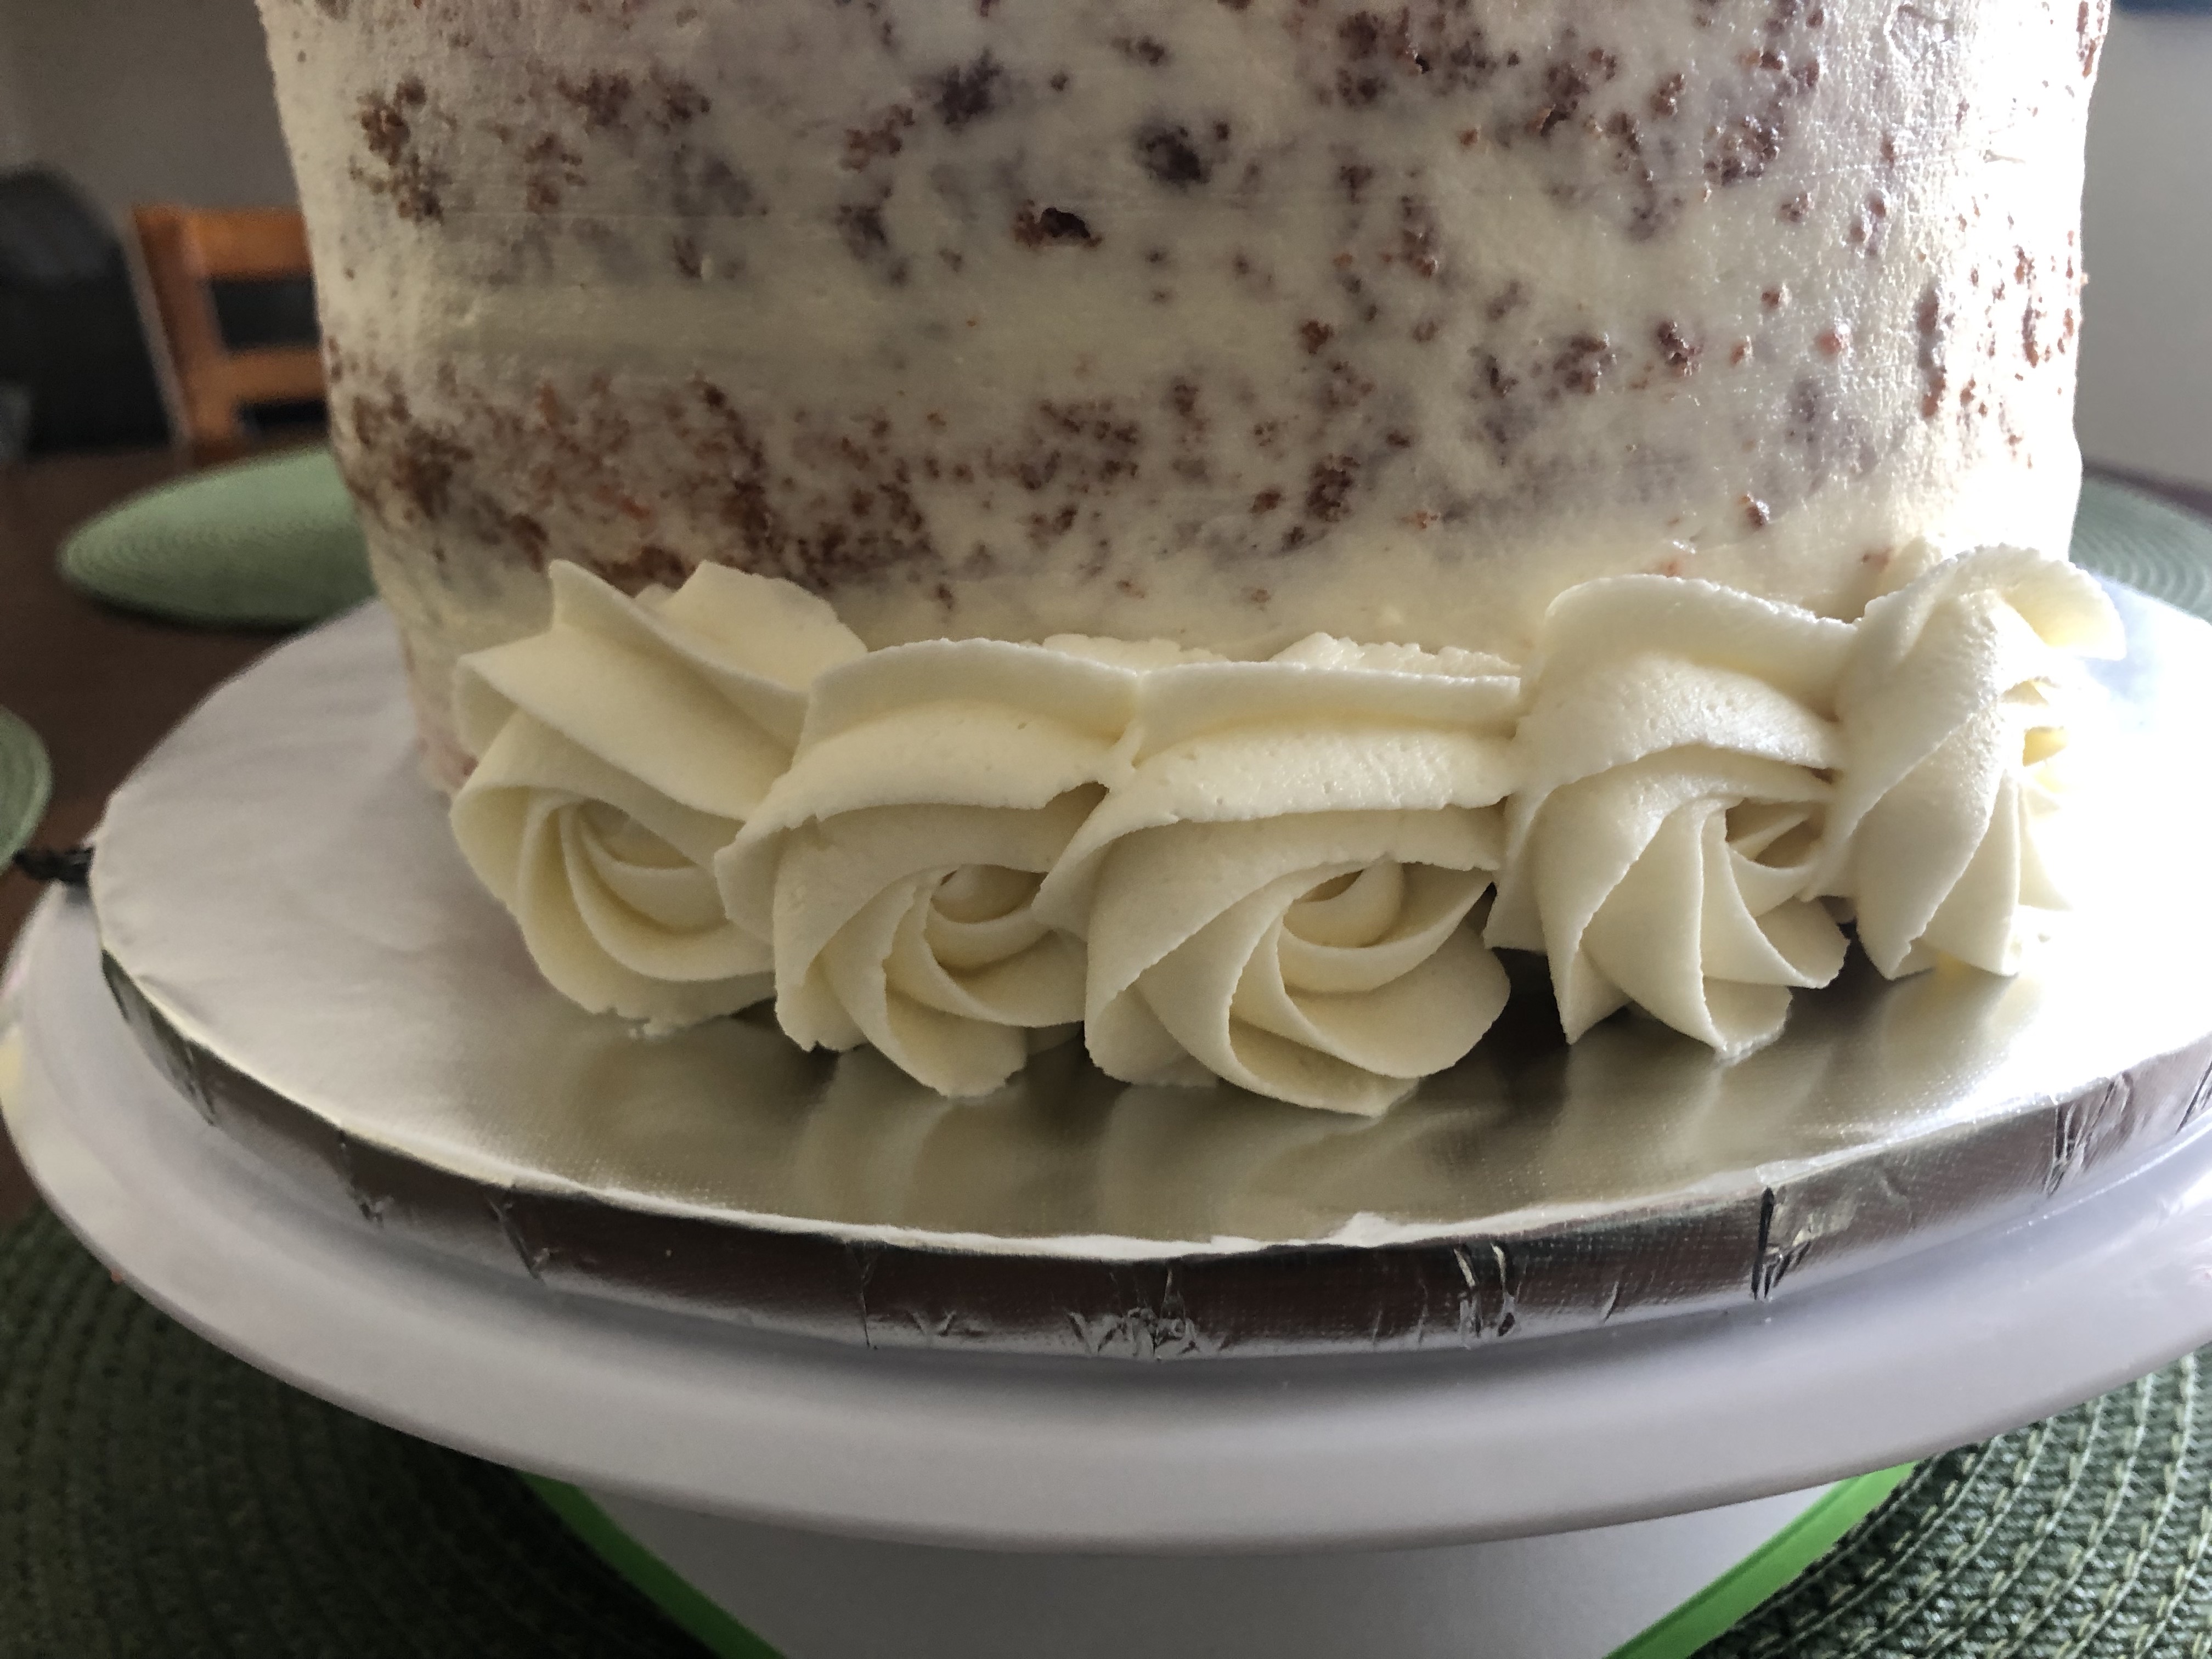
When you finish one rosette, start the next by piping out a small amount of buttercream. Then, shift the piping tip in a circular motion, just like before. To finish the rosette neatly, gently press the piping tip onto the cake and lift it off.
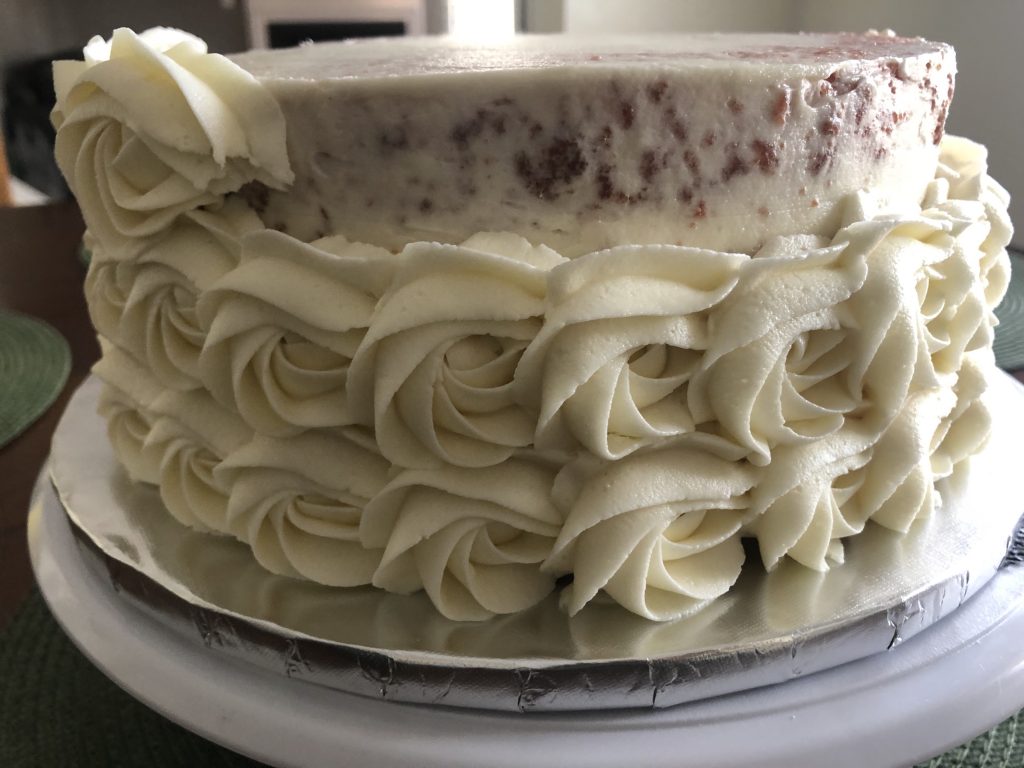
This will trim the excess buttercream, allowing you to start piping the next rosette. This way, you’ll not only fill the gaps between each rosette but also create a consistently layered appearance for your rosettes.
Decorating the Rosette Cake:
Once you’ve piped all the rosettes around the cake, you can enhance your cake’s design with various elements. Consider adding a cake topper, sprinkling edible glitter, or decorating with fondant accents like small flower buds placed at the center of each rosette. For a touch of elegance, you can use airbrush paint to create a silver or gold finish.
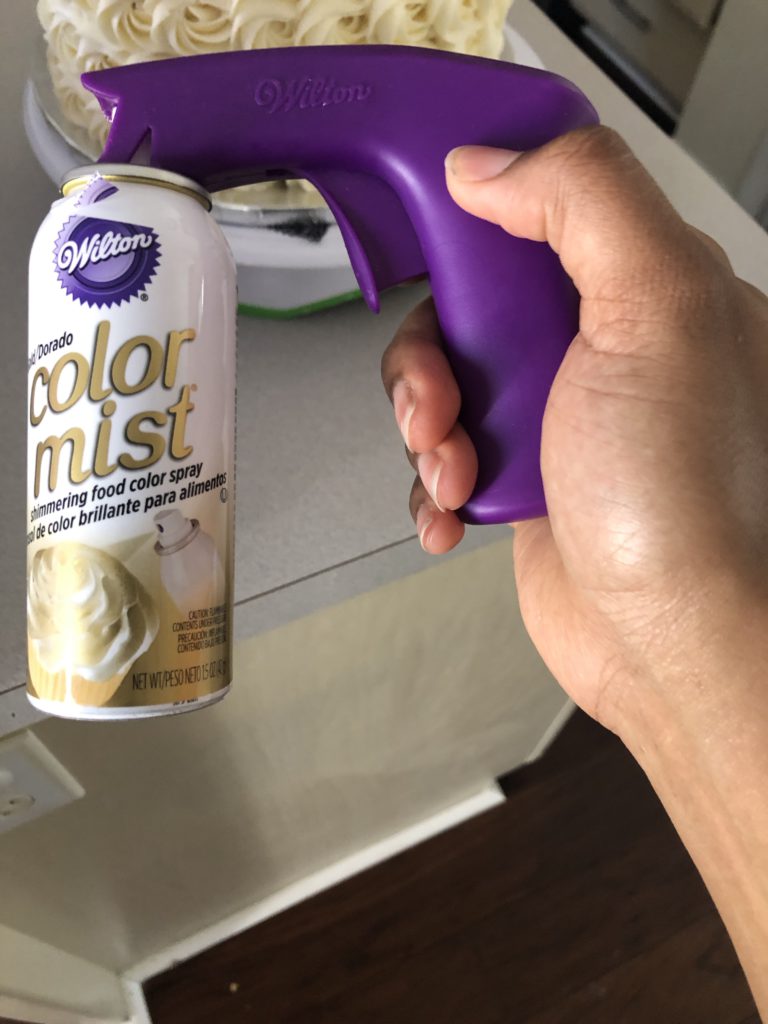
For this tutorial, I chose to try the Wilton Edible Gold Spray, this spray worked pretty well for the rosettes in gold.
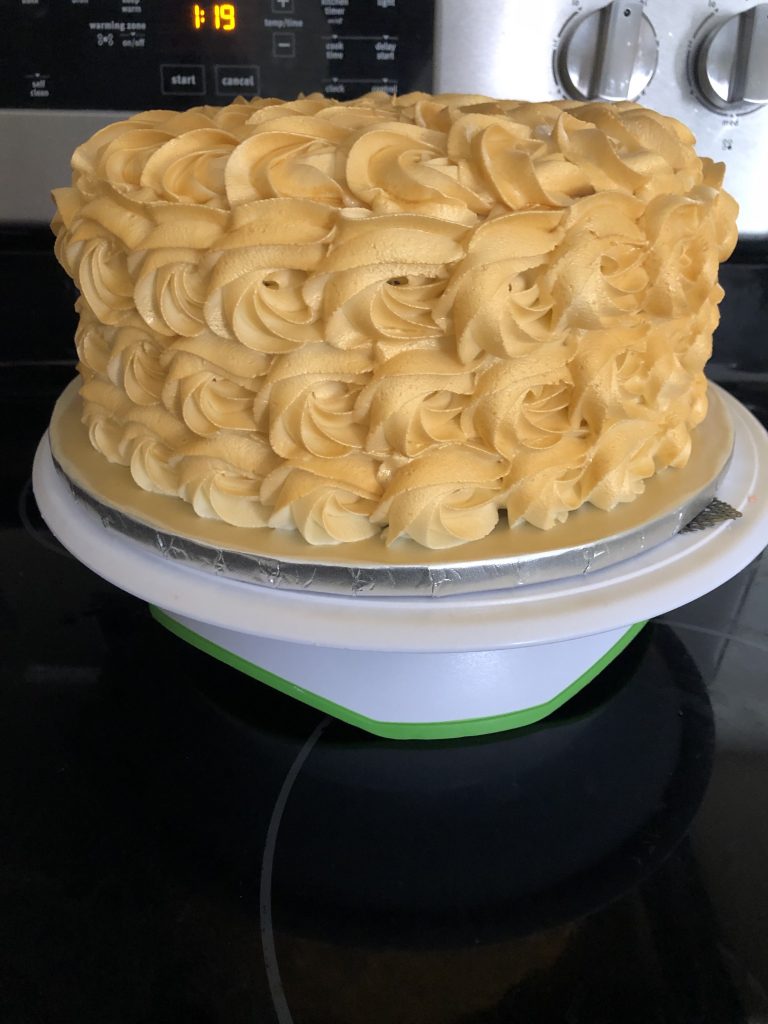
However, a bit of it was running aside the cake, so if you want a smoother finish, you can also use a Cake Decorating Airbrush kit. I use it regularly, especially when I need to give something a gold or silver finish.
Storing the Rosette Cake:
It’s a good idea to store Rosette Cakes in the refrigerator after making them, especially in hot weather, to prevent the rosettes from melting and falling off the cake. I learned this the hard way when I made a rosette cake with cream cheese frosting for my brother’s girlfriend.
As we were taking the cake to my brother, we opened the box and saw that the rosettes had come off. At the time, I didn’t understand why it happened, but I was determined to avoid it in the future.
Looking back on that situation, I realized that the car’s temperature was quite warm because I had the heat on, and the cream cheese frosting was soft.
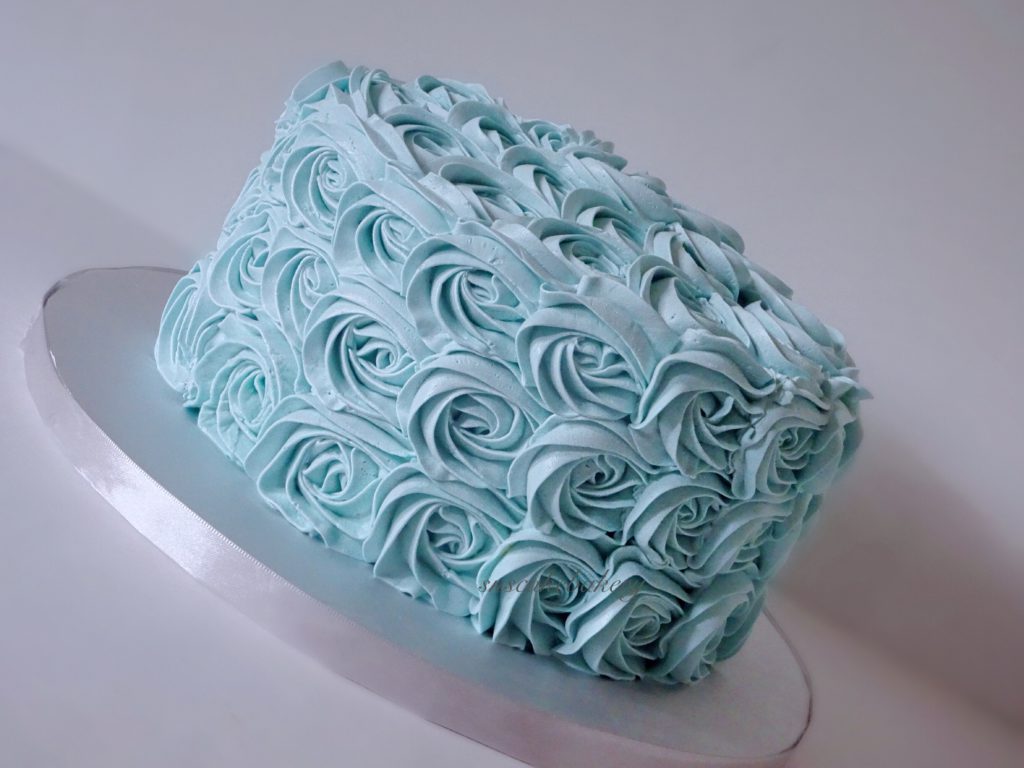
Now that you’ve successfully created a Rosette Cake, you can explore other fun designs for your cakes. You might want to try making an Ombre Rosette or a two-toned swirl rosette cake, or get creative with your own ideas. These cakes are incredibly charming, especially when used as a smash cake for a photoshoot.
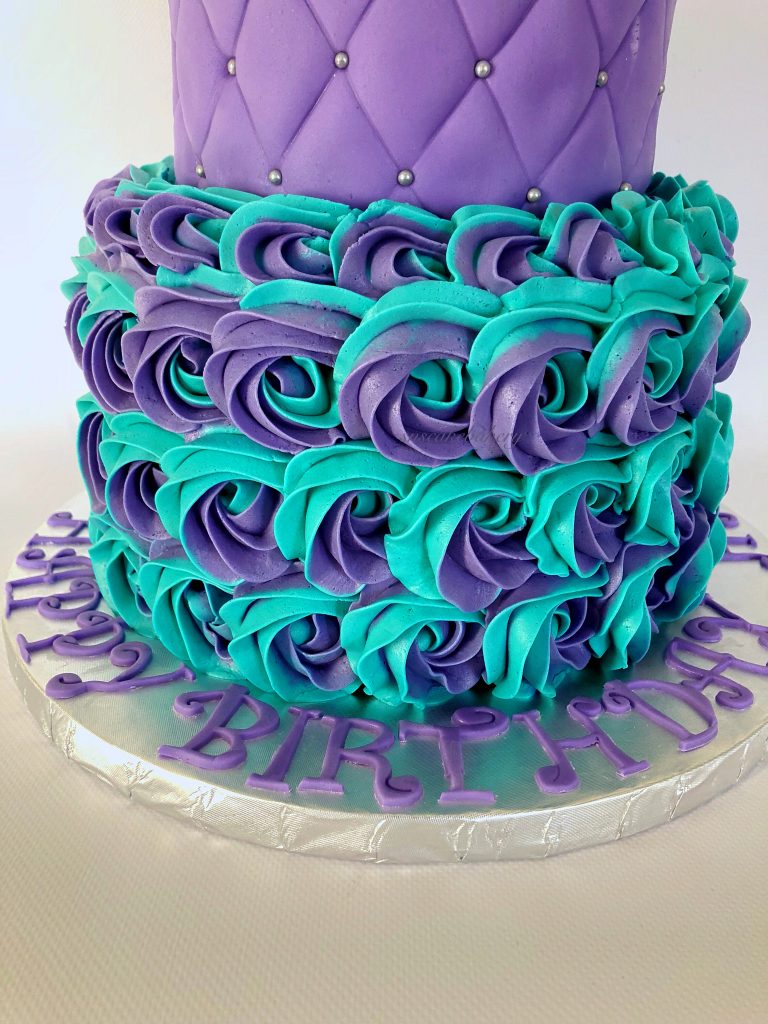
Always remember to enjoy making these cakes and don’t hesitate to try out your creative ideas. I’m confident that whatever you come up with will look fantastic. Please don’t hesitate to share your creations with me—I’d love to see pictures!
Tips for Success:
Tip 1: If you make a mistake while piping a rosette, don’t worry! You can easily fix it by using an icing spatula. Gently slide the spatula under the rosette and lift it off the cake. Make sure to remove any leftover rosette bits to keep the surface even.
Tip 2: Have plenty of buttercream or frosting ready because making rosettes uses quite a bit. Two large bowls of frosting should be enough for this project.
Tip 3: Use thick and firm frosting or buttercream for your rosettes. If it’s too soft, it might not stay on the cake and could fall off.

