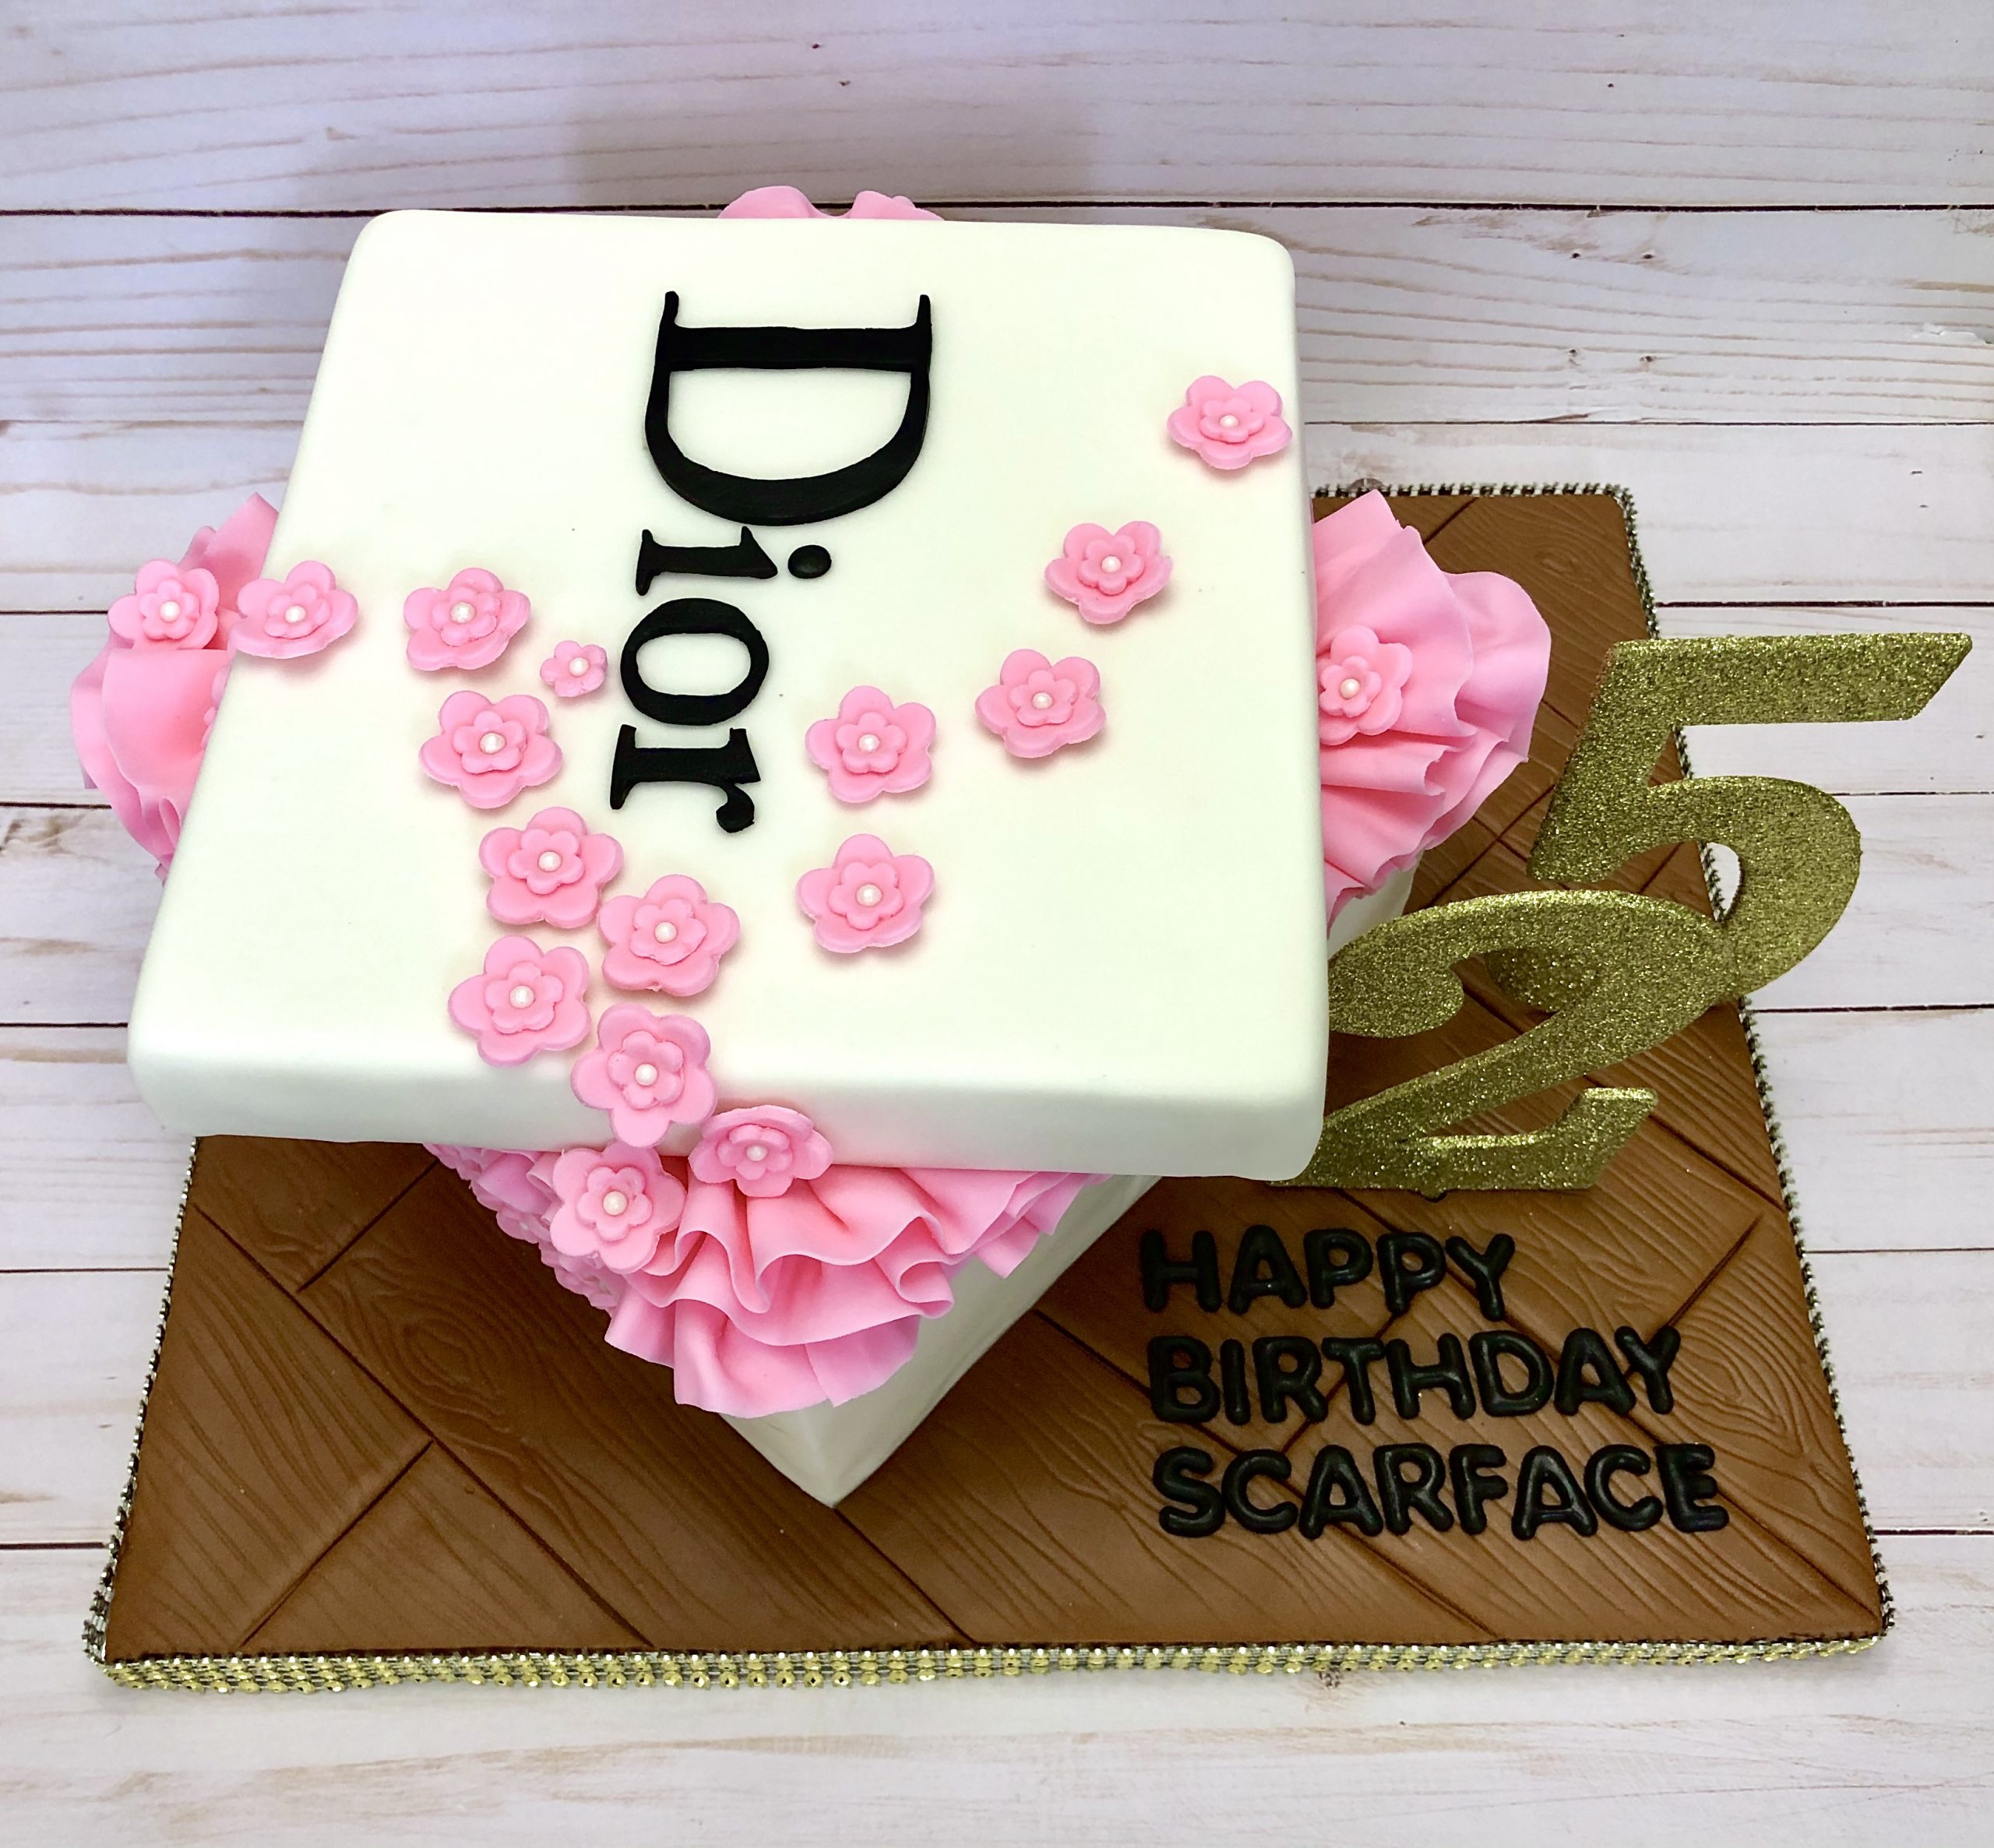
If you’re a big Fan of Dior, then you will love everything about this tutorial. For this tutorial, I will be showing you a step by step guide on how to make a Dior Cake box.
This cake would be perfect to give to a loved one on their birthday, or your mom on Mother’s Day, Valentine’s Day, or an anniversary to show your love and appreciation for that special person. This project is for all skill levels and would be fun to make with kids.
So to get started, let’s go over a list of items need for this project.
Items Needed:
- Gum Paste or Gum Tex
- Cake Knife
- 2 inch thick Square cake dummy (8 inches)
- Wood Grain texture mat
- Large Rolling Pin
- Ganache (white or dark chocolate)
- Strip Cutter
- Balling tool (for ruffles)
Step 1: Baking a Square Cake
In this step there’s two ways that you can achieve the perfect square for your cake. The first method is using a completely square pan to bake your cake in. These cake pans are great for getting those sharp edges during the baking process.
If you do not have these pans on hand, you still get sharpe edges on your cake by simply baking the cake in a square or round cake pan and allow the cake to cool for 30 minutes to 1 hour.
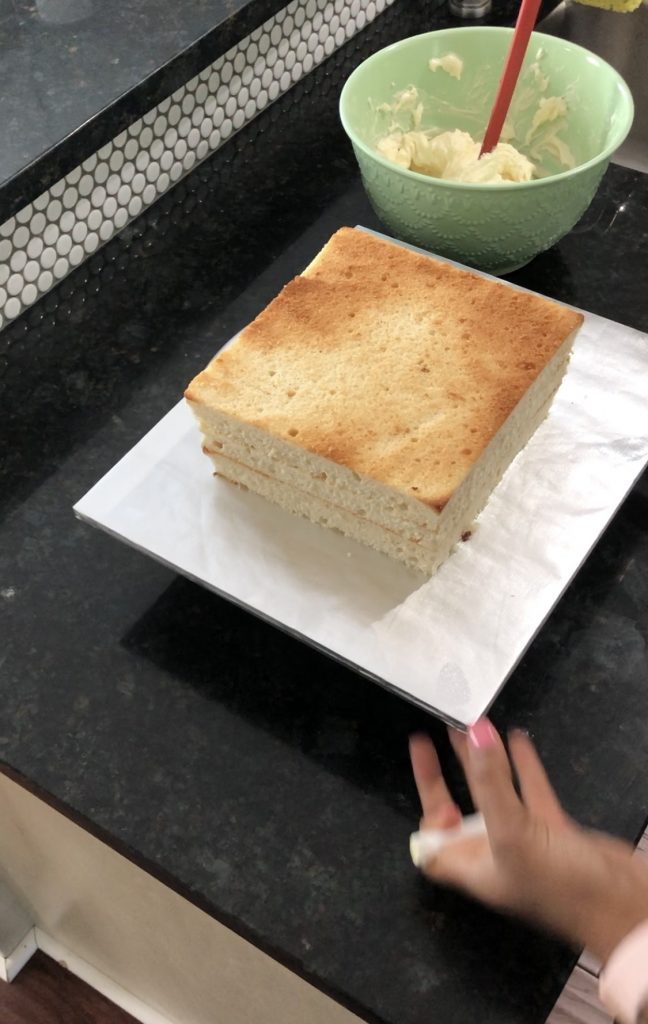
Once the cake has cooled down, use a square template to cut the cake into a perfect square. You can use paper, cake board, or something food safe to make your square template. Also keep in mind that if your cake is still too warm, the cake may stick to the template. Therefore it’s best to let the cake cool to room temperature.
Step 2: Maintaining the shape while crumb coating the cake
When it comes to crumb coating the cake, it’s best to make sure the edges stay in tact during this process. It’s very easy for the edges to break off while the cake is being crumb coated. Therefore, I recommend freezing the cake so that the surface of the cake is rock solid for crumb coating.
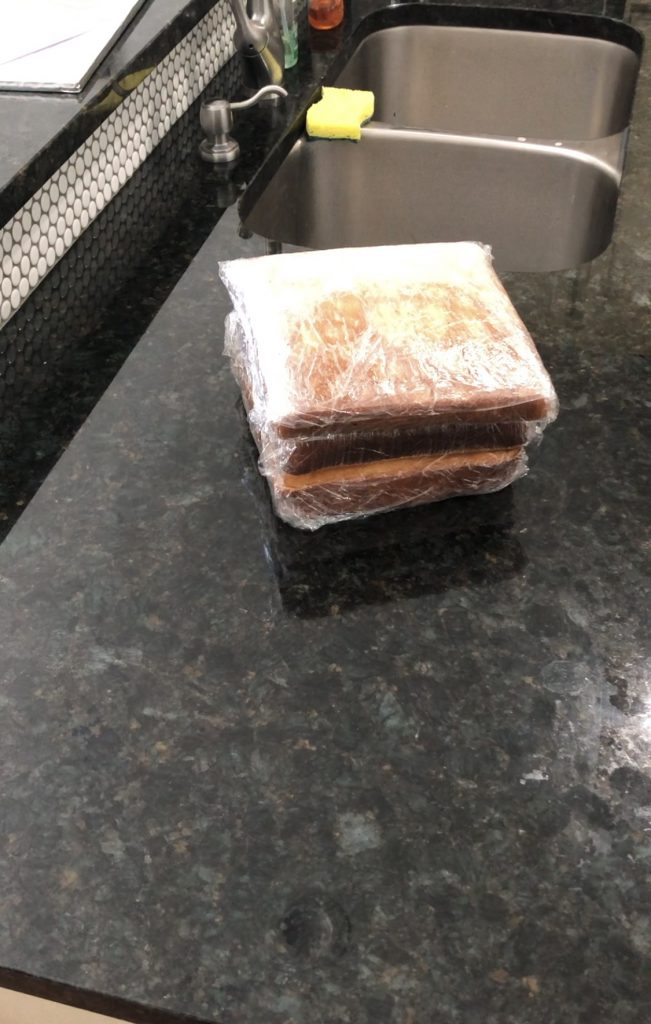
If the edges do break off, it’s not the end of the world. You can create those sharp edges with fondant. The cake just provides structure underneath the fondant because the fondant adds weight to the cake. I like to use ganache on square cakes because it’s maintains it structure and shape underneath fondant.
Step 3: Making the top of the Box
I found that the easiest way to make the top of the Dior box is to use a 1 inch thick square cake dummy. You can use cake, but it’s just easier to use styrofoam. The size of the cake dummy can be slightly bigger than the cake box so that it actually looks like the top of a box.
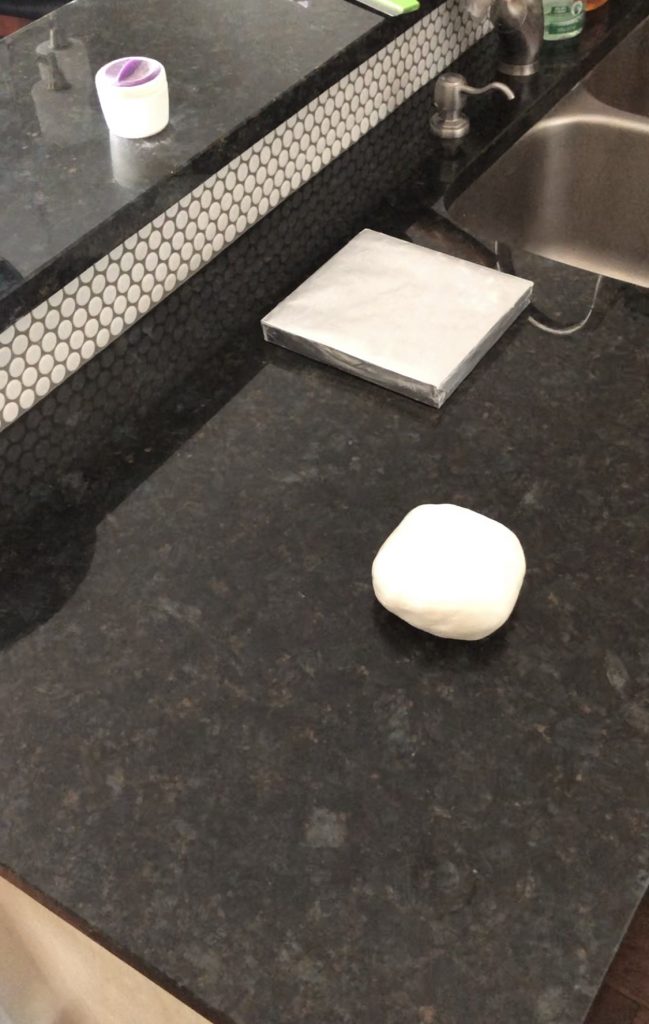
To make the cake dummy food safe, cover it completely in Fancy- Foil. Once it has been covered in Fancy- Foil, apply vegetable shortening the top surface of the cake dummy. The shortening will act as glue when applying the fondant to the Fancy-Foil.
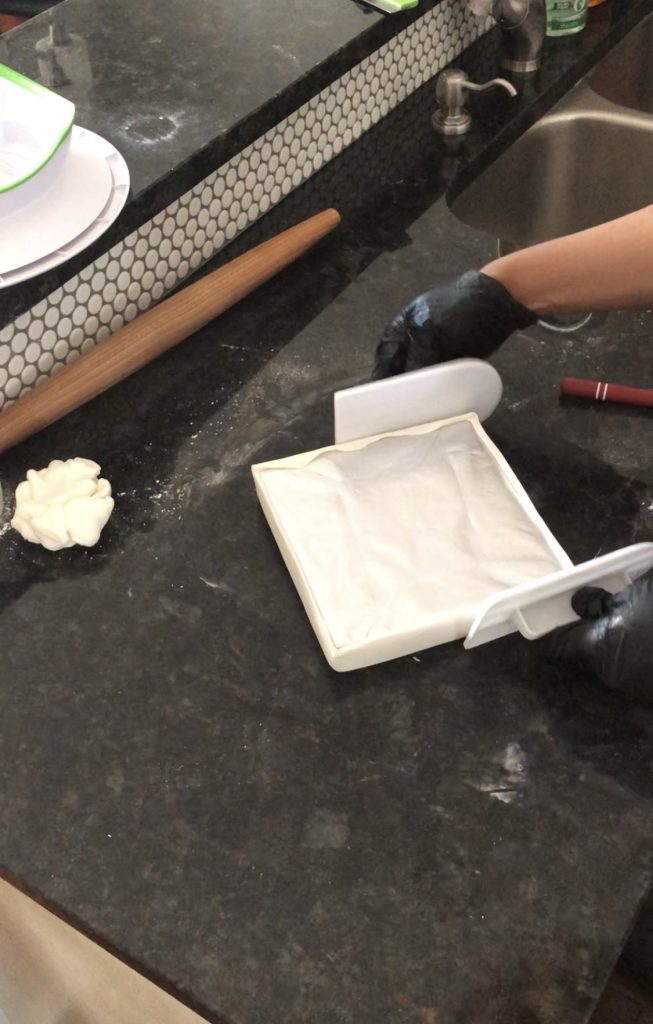
Step 4: Completing the Bottom of the Box
There’s two techniques for covering a square cake with Fondant. The first way is to roll out the Fondant to a 1/4 inch thick and apply it to the surface of the cake. This technique is great and commonly used. However, if you’re seeking to have sharp edges on your, you will have to smooth out each side and corner to achieve the look your going for with the cake.
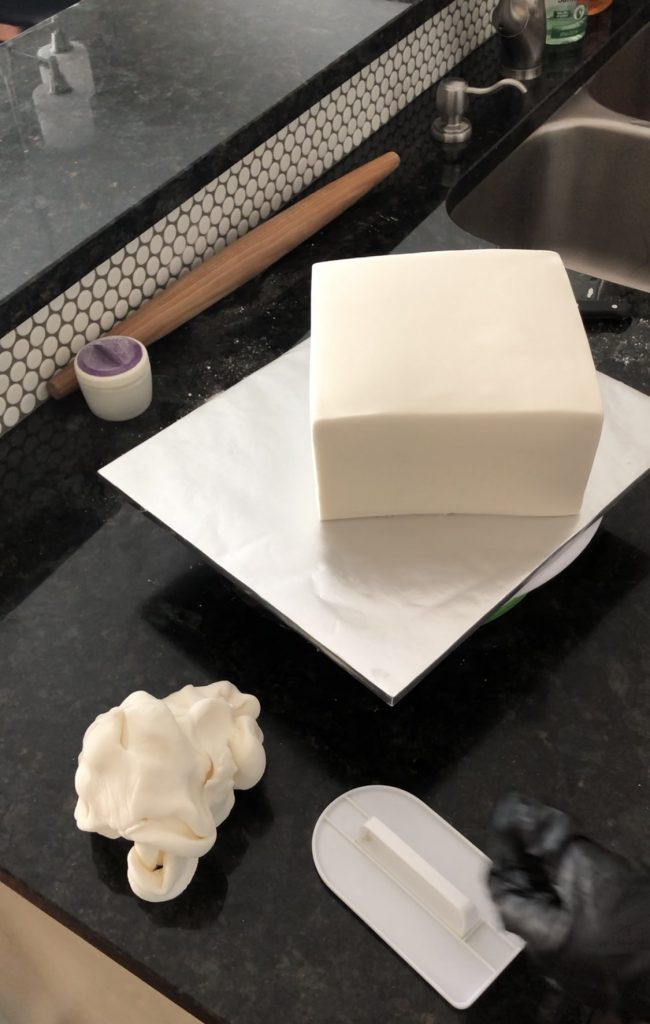
In regards to the second technique to getting sharp edges on a square cake, measure the width and length of the cake. Using those measurements, cut out a long strip of fondant and place it around the sides of the cake. Lastly, measure the top of the cake and cut out a piece of fondant to cover the top of the cake. Once all pieces have been smooth out the surface of the cake with a cake smoother.
Step 5: Tissue paper and flowers
To make the tissue paper, cut out 2 by 12 inch strips of thin fondant and begin making the ruffles using the Balling Tool.
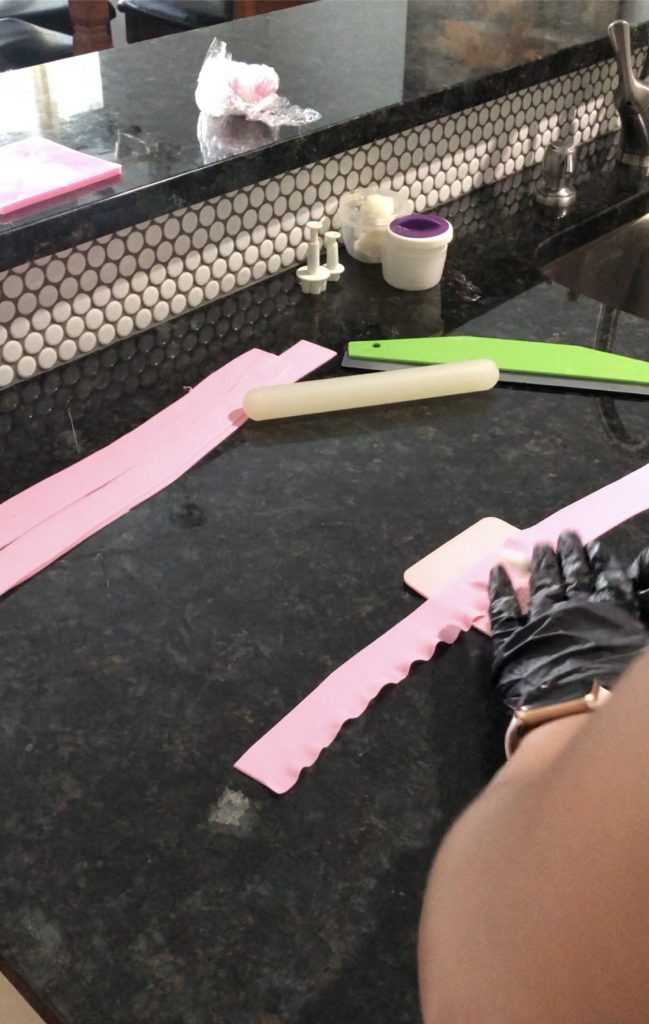
To cover the whole cake, you will need at least 10-12 strips of Fondant. Once all of your strips have been cut out, lightly apply water to the opposite side of the ruffles and apply it to the top edge of the cake.
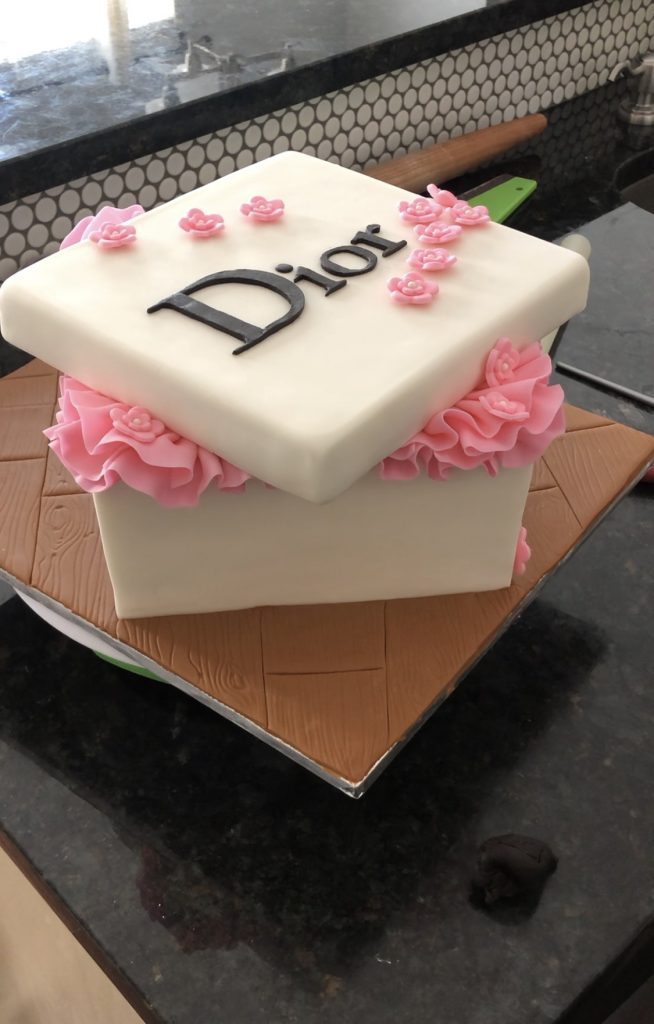
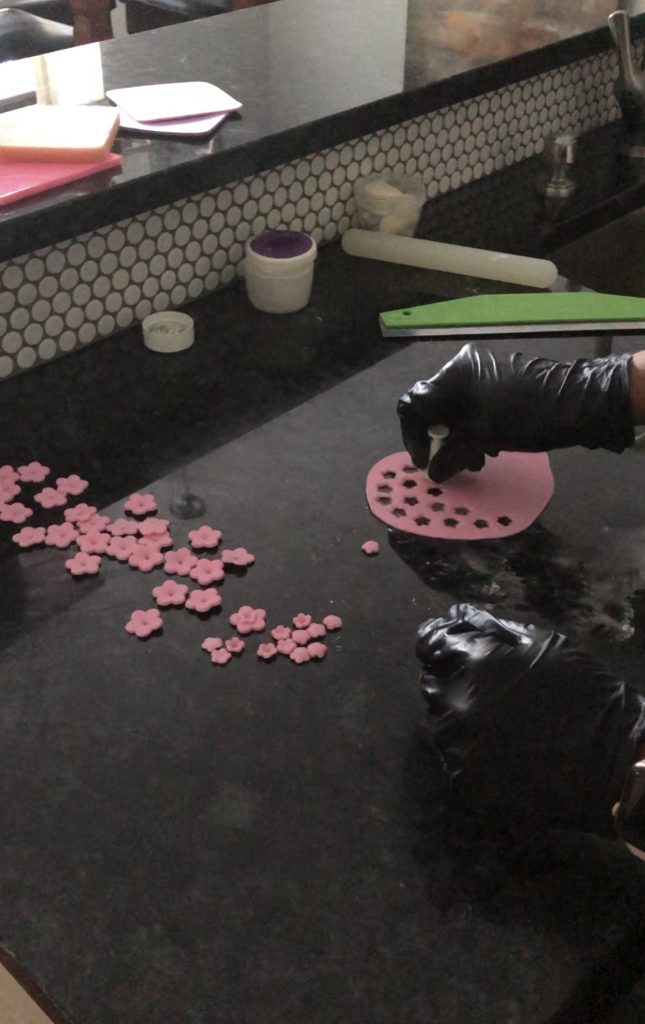
To make the flowers, use a set of Blossom Plungers to cut out small, medium, and large flowers. Apply a small amount of water to the backside of the blossom and apply it to the cake.
Step 6: Adding the Final Details
This step was completely optional, but if you would like to enhance the design of the cake, try decorating the cake board.
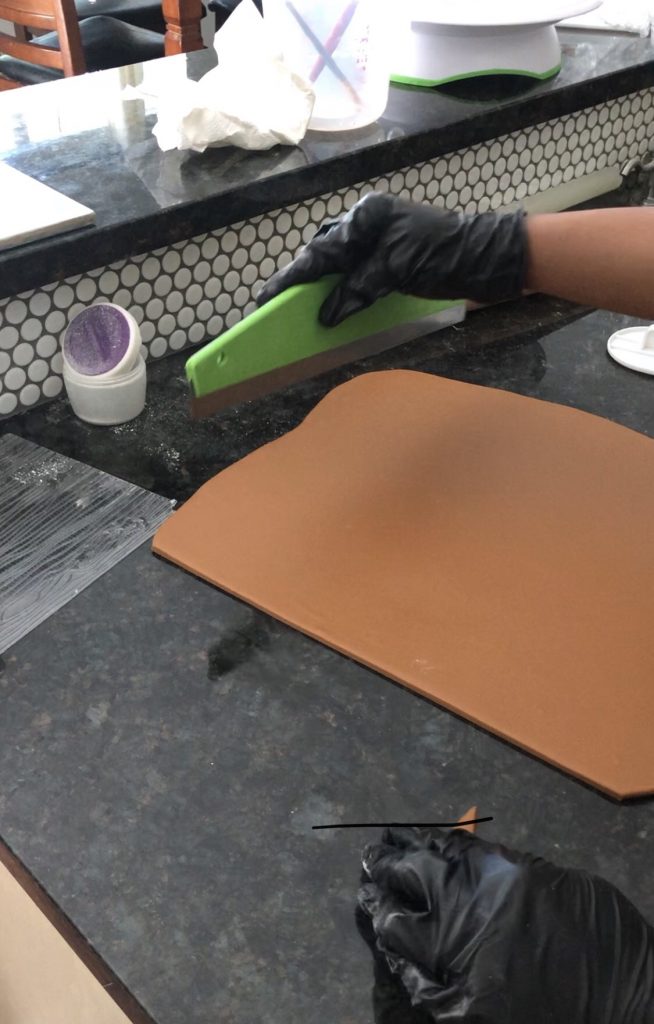
For this cake, I made a wood grain cake board using brown fondant and a wood grain impression mat.
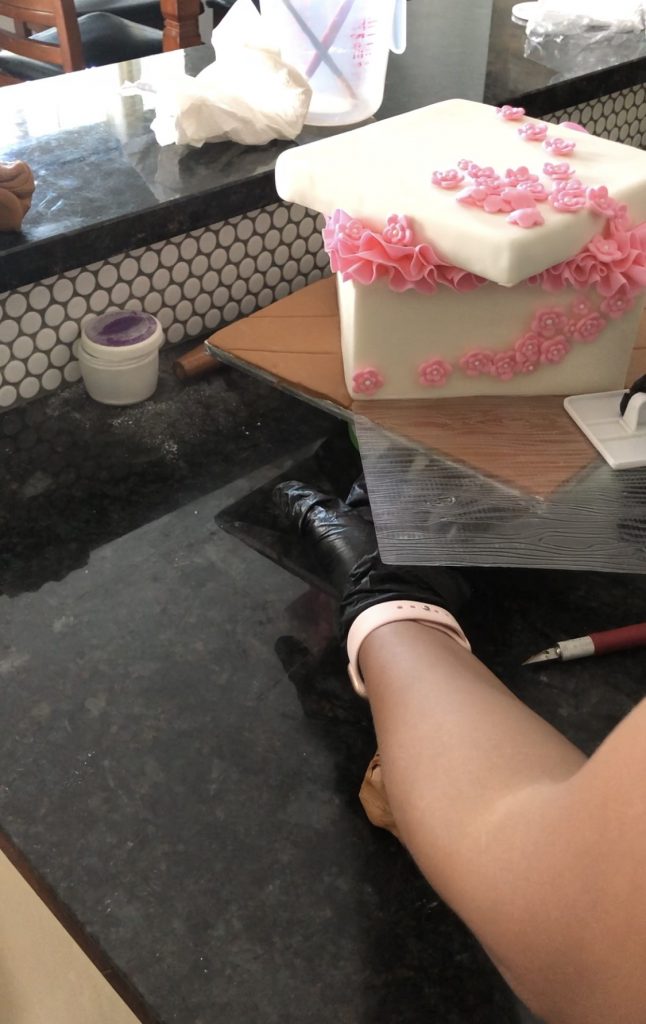
This step can be done early on in the process or once the cake is complete. I hope that this tutorial was fun and easy for you all. Please comment below any questions or awesome tips of your own. God Bless!
