Preparing a cake pan is a very simple step in making a cake. It’s so simple that even a baby can do it. Well maybe not a baby, but it’s just that simple to do. There are also several ways to prepare a cake pan.
One simple way to prepare a cake pan is by using a nonstick spray such as cake release to prevent cakes from sticking to the pan. That method works really well when it comes to easily remove your cakes from the pan. However, the edges of the cake tend to cook really fast causing the cake to have a hard surface.
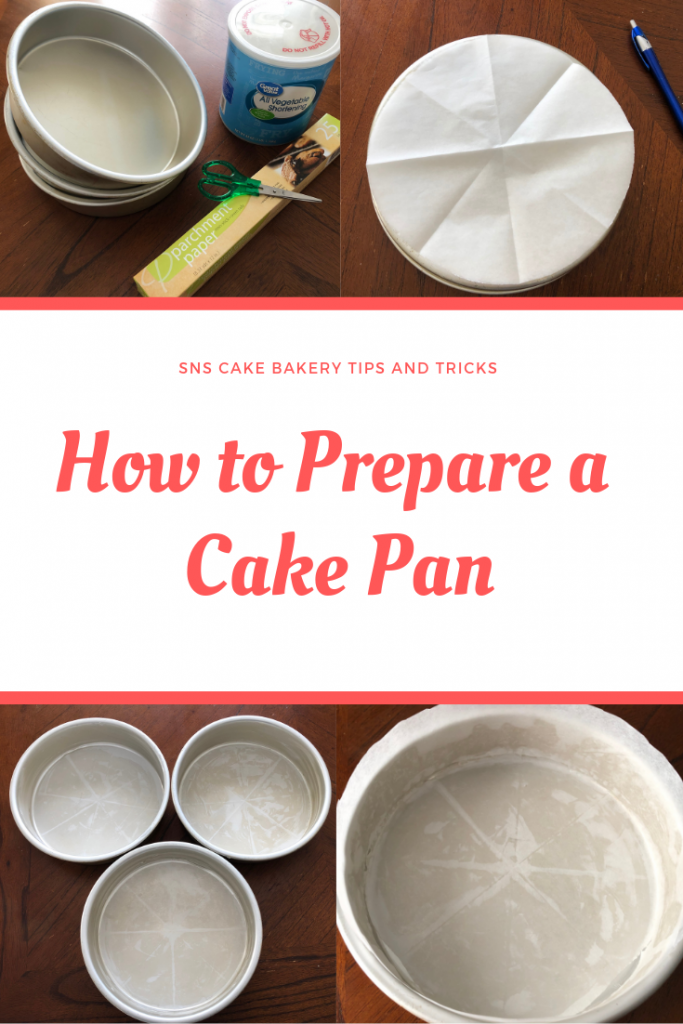
The second method that is also useful to prepare a cake pan, is using a basting brush to grease the cake pan with vegetable oil or vegetable shortening and then dusting it with flour. This method works as well, but it may leave excess flour on the edges of your cake and it can also cook very fast as well.
But one method that I found to be the best out of the three is using parchment paper. Parchment paper is truly the best to use when it comes to easily remove your cake from the pan.
Another great factor in using parchment paper is that your cake will evenly bake on the inside as well as the outside of the cake. Your cakes will have a golden brown look on the outside with a soft texture.
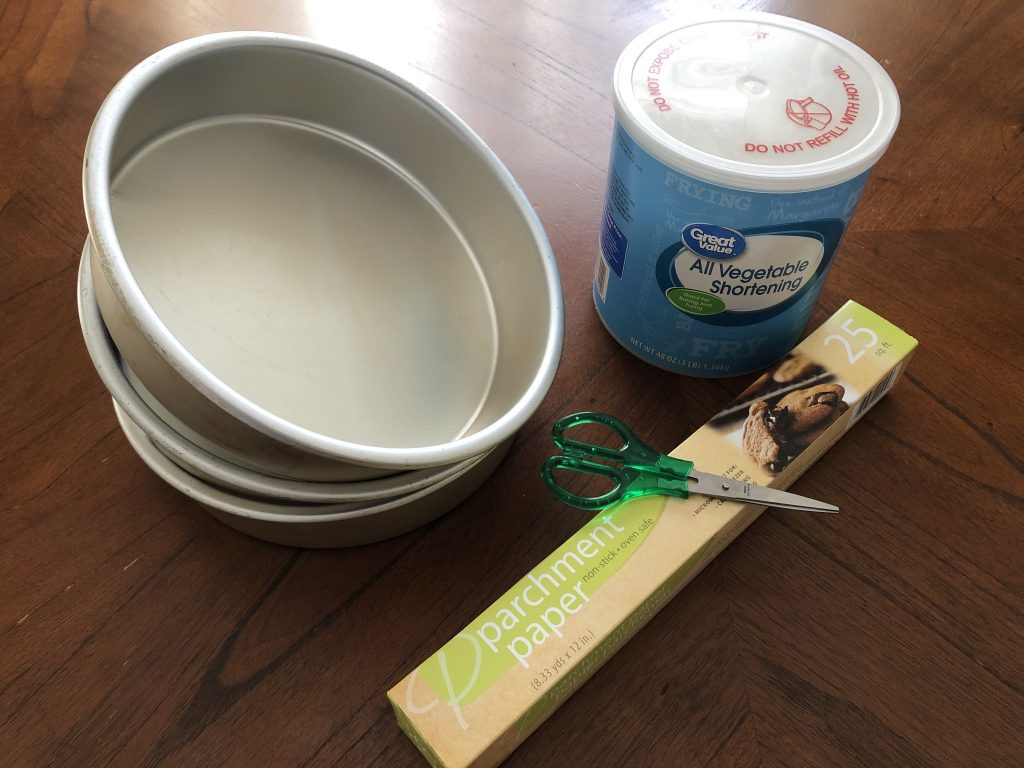
How to line a pan with parchment paper
Tools needed:
- Cake pans
- Parchment paper
- All vegetable shortening
- Scissors
- Pencil
Step 1: Folding the Parchment Paper
To get started, you will first tear off one piece of parchment paper for each cake pan that you will be using.
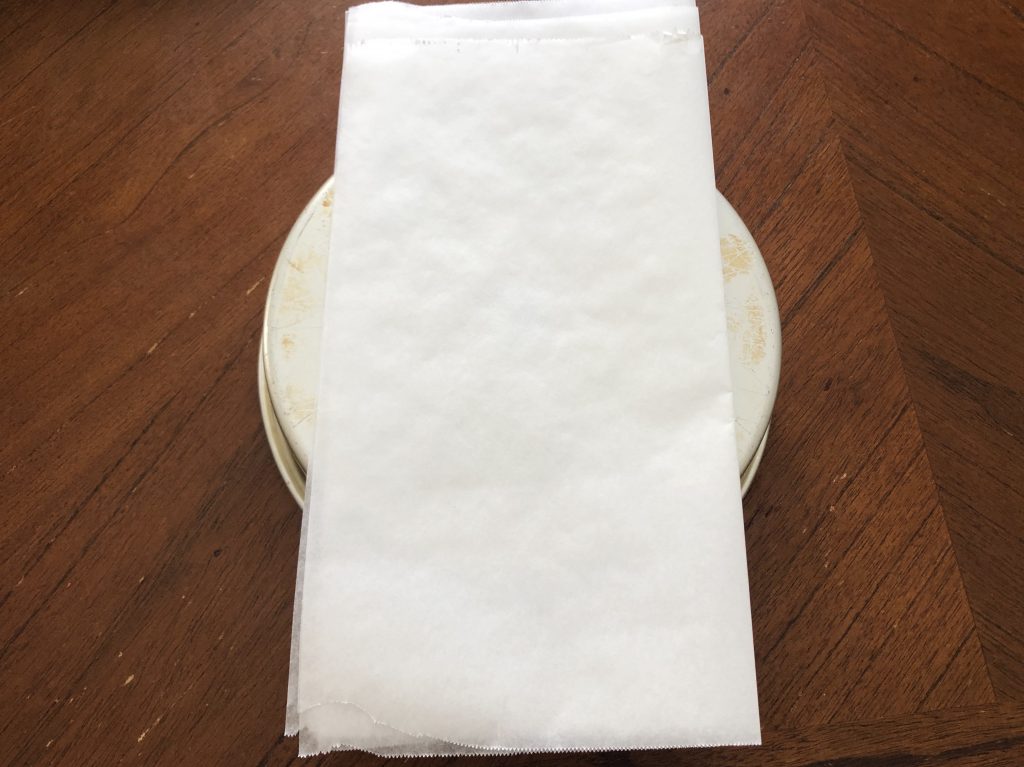
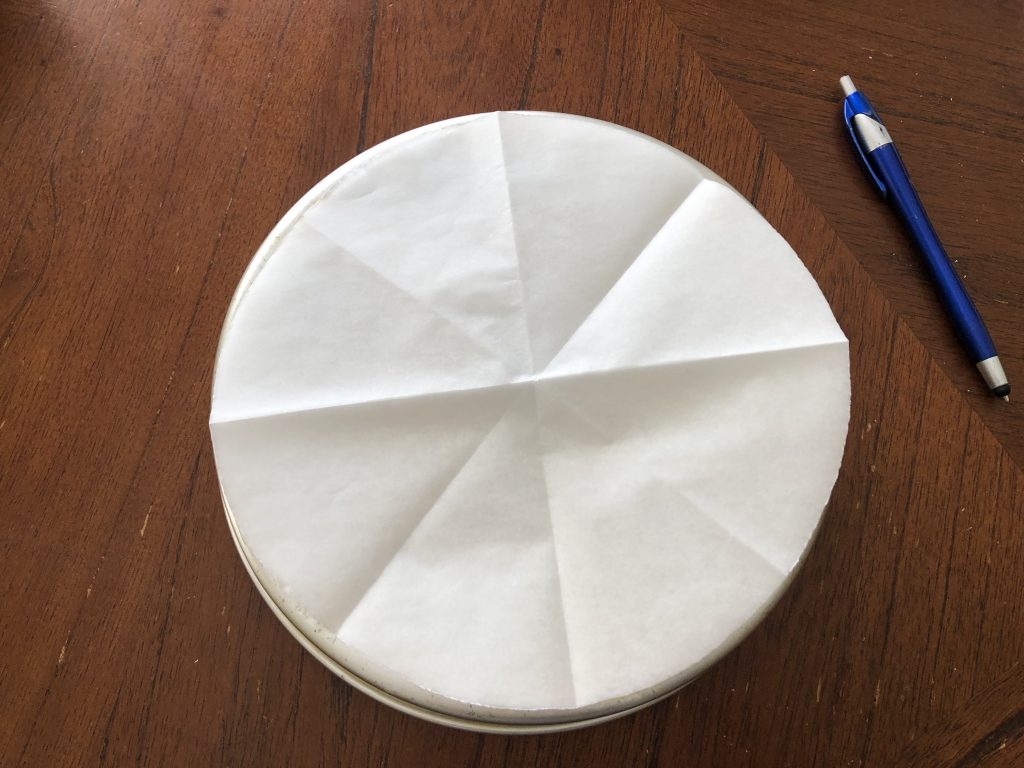
Next, you will stack the pieces of parchment paper together and fold them in half. After folding them in half, you will then, fold them in half again. Now you will fold it in half for the third time and it should look like a triangle at this point.
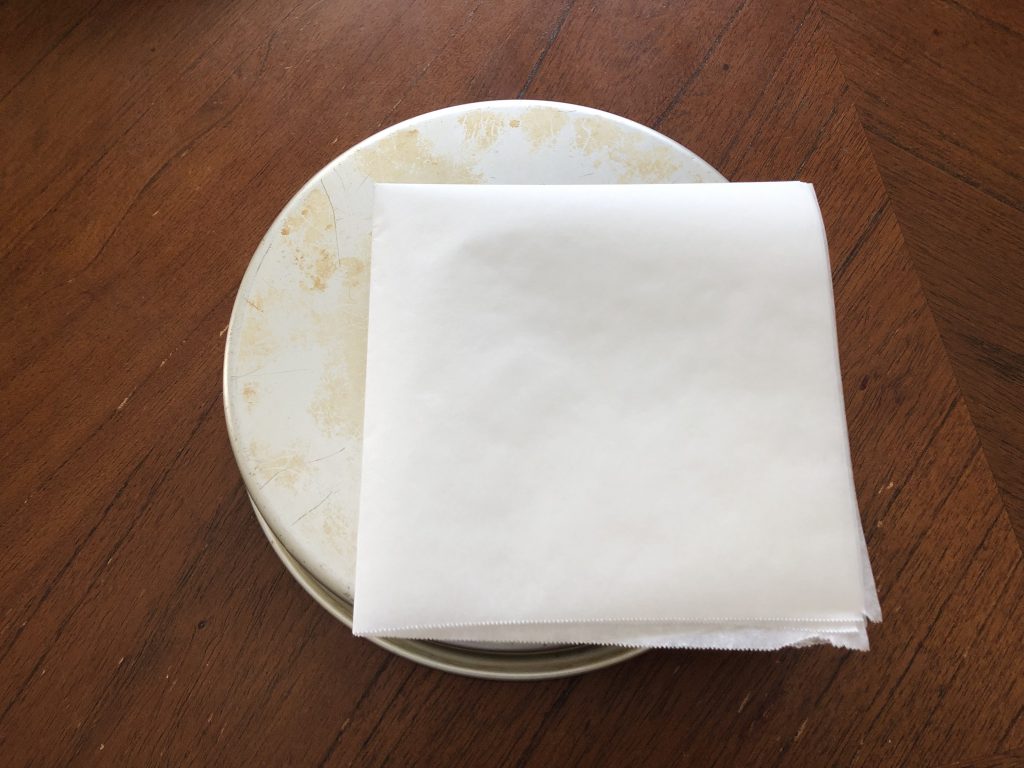
Once you have a triangular shape with the parchment paper, you will then place the parchment paper on the back of the cake pan.
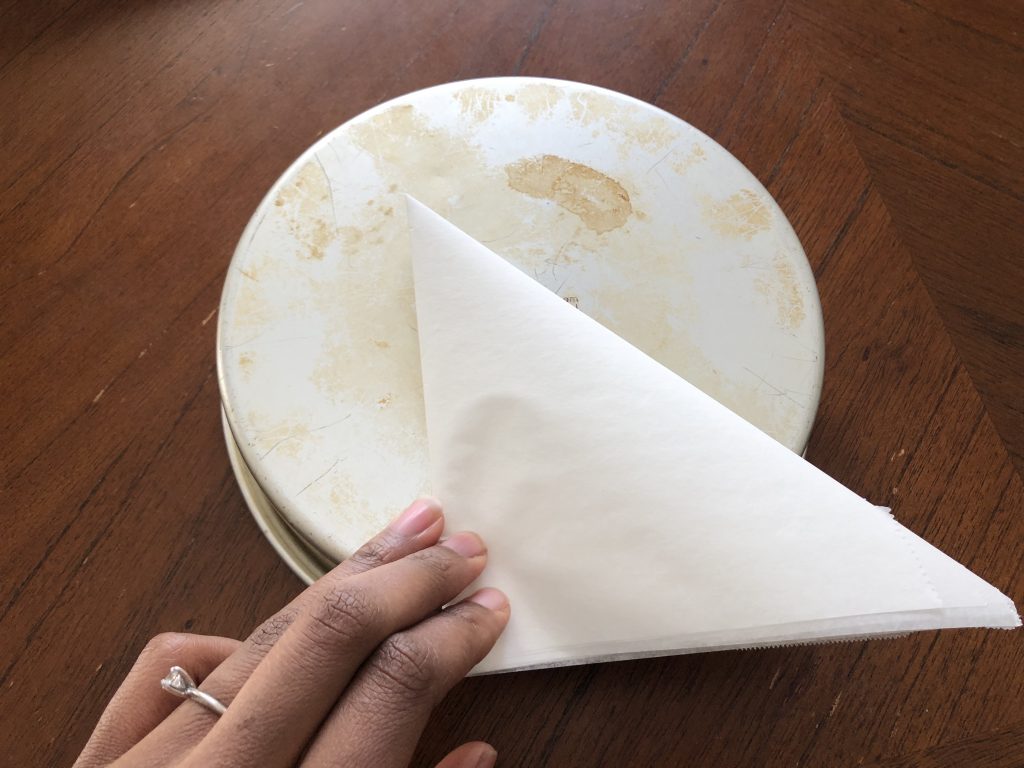
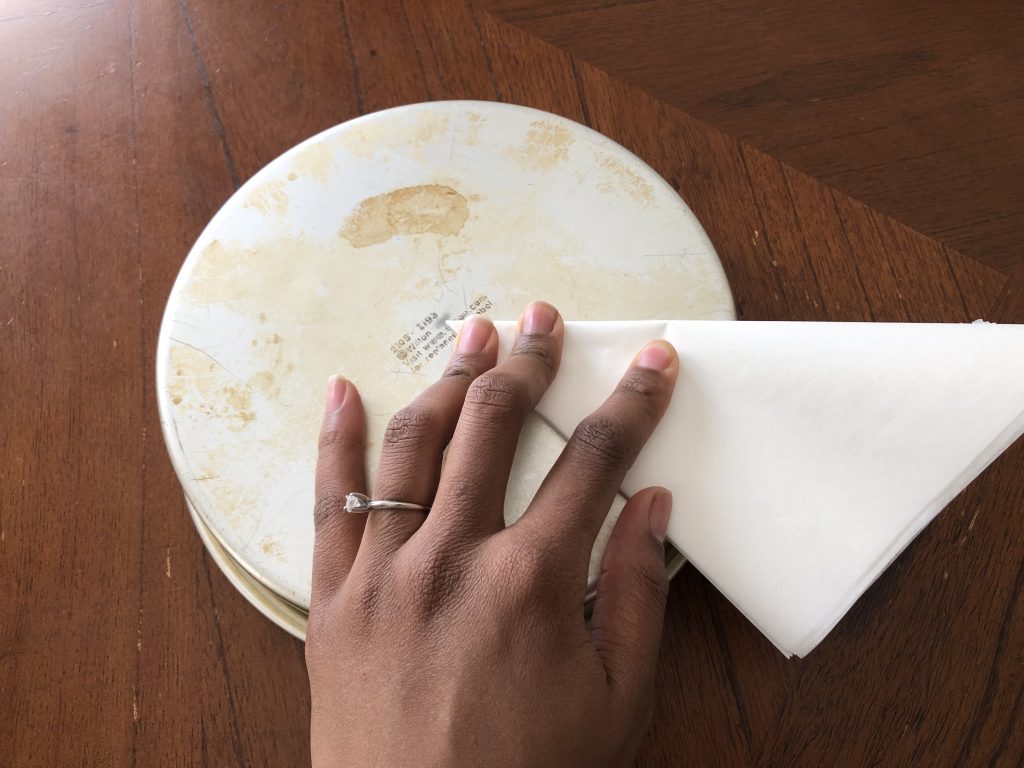
If you’re trying to cut the right size of parchment paper for a cake pan that’s not round, you can simply lay the pan on top of the parchment paper and using a pencil, trace the shape of the cake pan. This will help you get the exact shape of the cake pan.
But please keep in mind that if the bottom of the pan is not fully lined with parchment, it will still release from the pan. It’s best to make sure that majority of the pan is lined with parchment paper for an easy release.
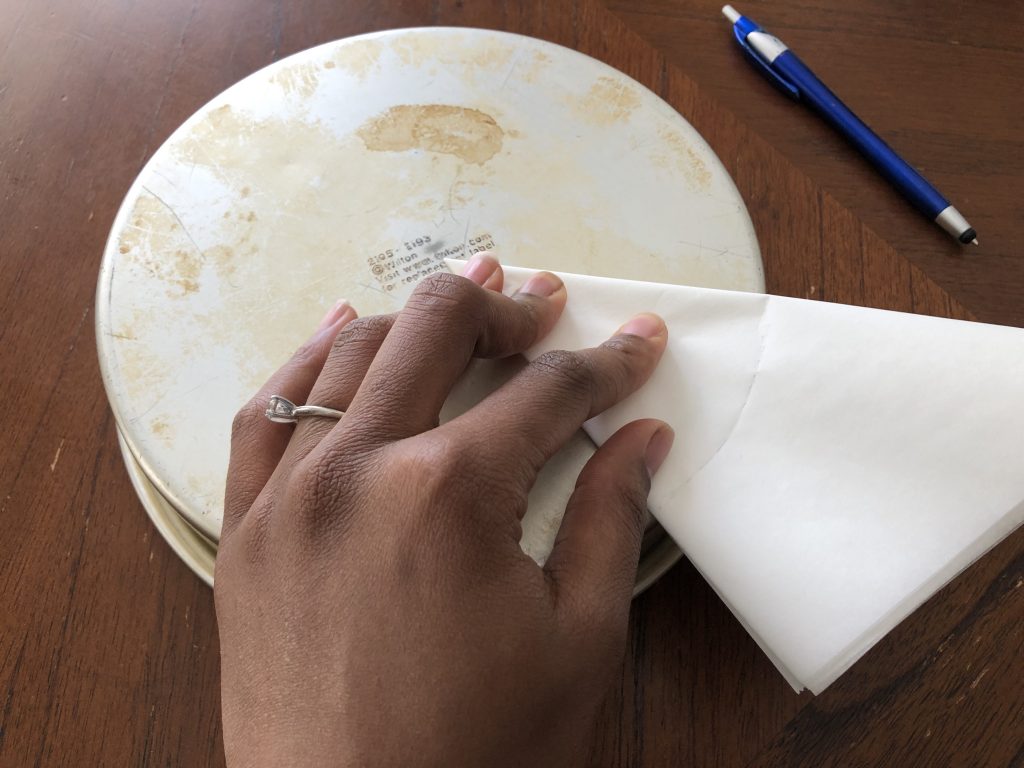
Step 2: Drawing a line to cut the Parchment Paper
Now you will draw a line on the parchment paper across the edge of the cake pan. Using your scissors, cut on that line that you traced on the parchment paper.
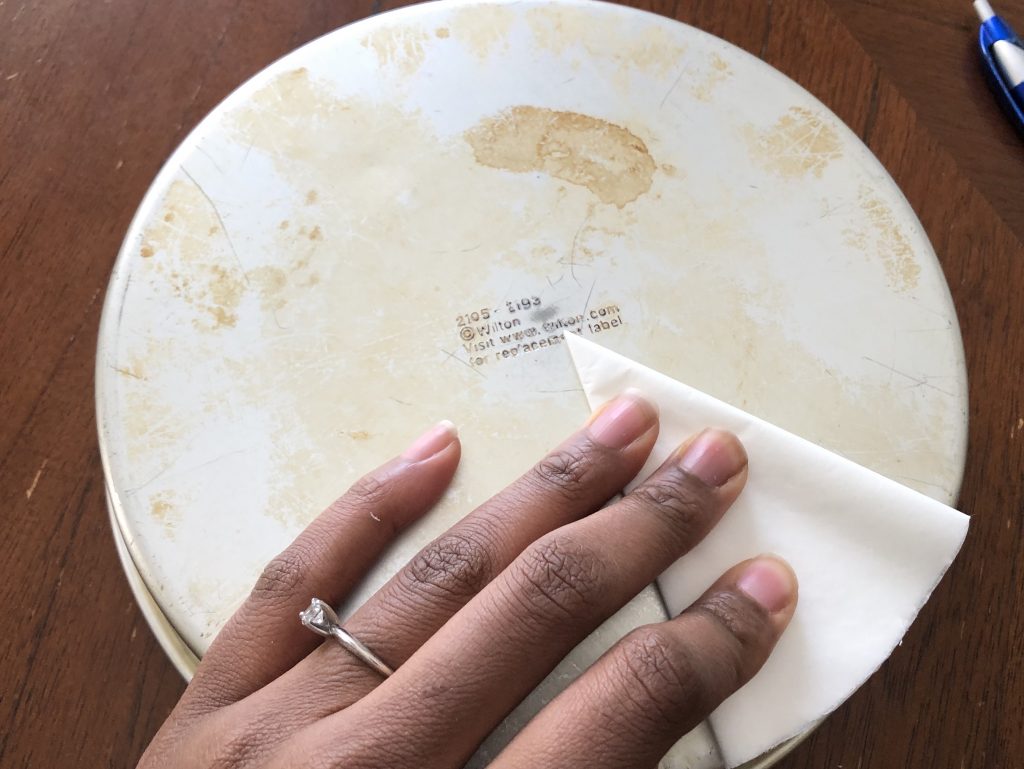
Step 3: Unfold the Parchment Paper
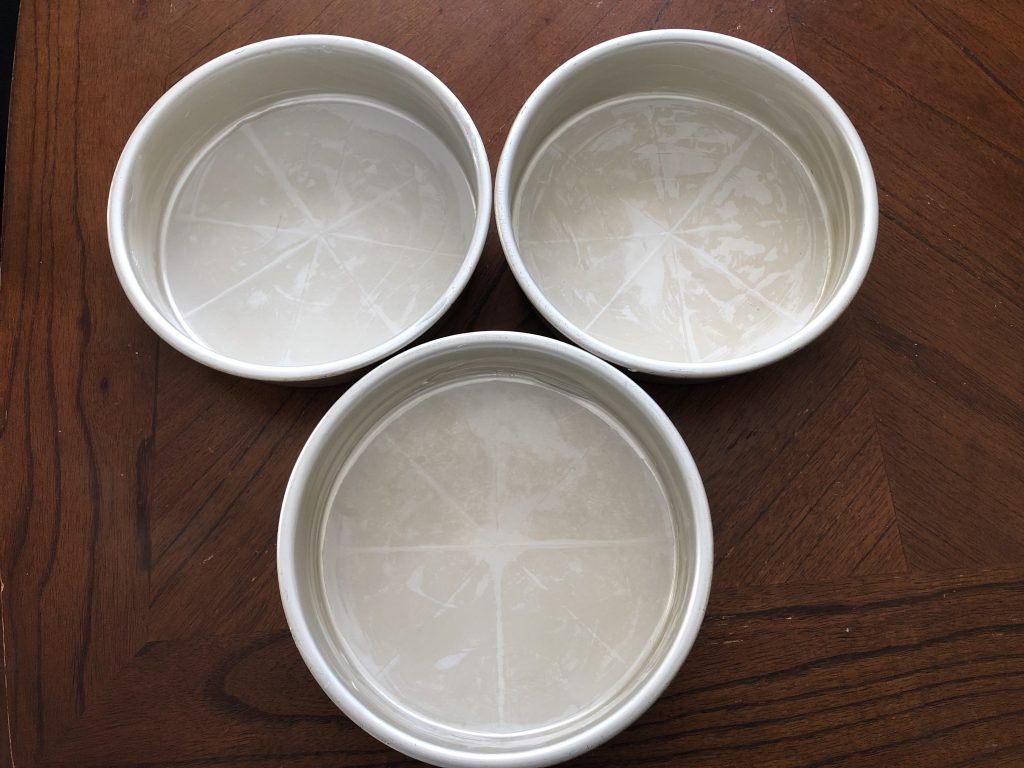
After you’ve cut at the line, you can now open the parchment paper and you should have liners for your cake pan. Now you can use a butter brush to grease the pan with shortening.
Step 4: Grease Each Pan
After the pan has been greased with shortening, you can add the parchment to the pan.
Step 5: Securing the edges of the Pan
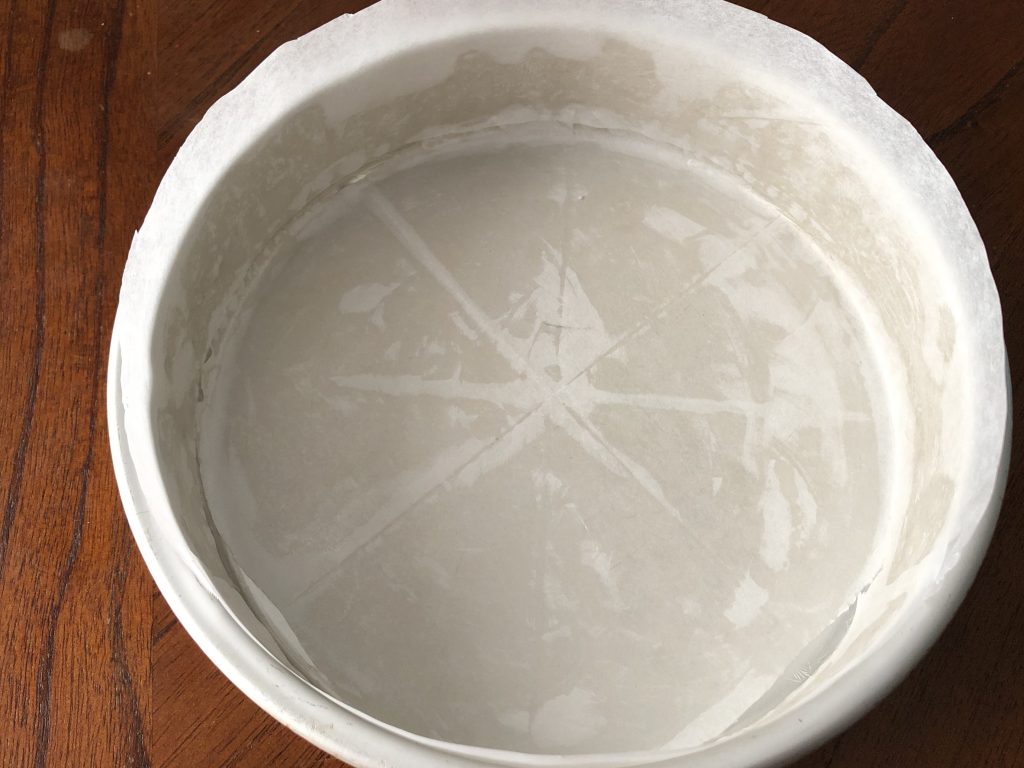
If you would like to make sure that the whole pan is covered in parchment, you can cut out strips of parchment and add them to the sides of the pan so that the cake is fully covered in parchment paper.
Now that was easy!
At this point, we now know 3 fool-proof options to prepare a cake pan and you can add cake mix to the pan without the worry of it sticking to the pan. This process may be a little time-consuming but to speed up the process for the next time that you bake a cake, you could cut out several pieces of parchment paper in different cake pan sizes to have on hand. This will make things much easier and that’s what I’m all about, I’m pretty sure you all can agree with it as well!
